Table of Contents
Introduction
Aloe vera has long been celebrated as a powerhouse of natural skincare, beloved for its soothing and hydrating properties. Did you know that over 75 active constituents exist within the aloe vera plant, including vitamins, minerals, and enzymes? This incredible composition makes aloe vera a versatile ingredient for various skin types and concerns. As we navigate the ever-evolving landscape of skincare, we understand the importance of using clean, effective ingredients that nurture rather than harm our skin.
In this blog post, we will guide you through the process of making organic aloe vera gel at home. This DIY approach ensures that you're getting a pure product without any harmful additives or preservatives, giving you complete control over what you apply to your skin. Whether you're looking to soothe sunburn, hydrate dry skin, or incorporate a natural ingredient into your beauty routine, homemade aloe vera gel can be an invaluable addition. Together, let’s explore the methods, benefits, and applications of this remarkable gel.
Why Make Your Own Aloe Vera Gel?
Using fresh aloe vera gel over store-bought options has numerous benefits:
- Purity: Homemade aloe vera gel is free from synthetic additives, preservatives, and artificial colors. This aligns perfectly with our mission at Moon and Skin to provide clean and thoughtful skincare.
- Cost-Effective: Creating your own gel can be more economical in the long run, especially if you have access to an aloe vera plant.
- Customization: You can tailor the gel by adding other beneficial ingredients, such as essential oils or vitamin supplements, to enhance its properties.
- Freshness: Freshly made aloe vera gel retains maximum potency and effectiveness, ensuring your skin receives the full benefits of its natural nutrients.
- Sustainability: Making your own products reduces the need for single-use plastic packaging common with commercial products, supporting a more eco-friendly lifestyle.
Step-by-Step Process to Make Organic Aloe Vera Gel
Creating your own organic aloe vera gel at home is straightforward. Let’s break down the process into manageable steps.
Step 1: Gather Your Ingredients and Tools
To make your own aloe vera gel, you will need the following:
-
Ingredients:
- Fresh aloe vera leaves (preferably organic)
- Optional: powdered vitamin C or E for preservation
- Optional: essential oils for added benefits (like lavender or tea tree oil)
-
Tools:
- A sharp knife or vegetable peeler
- A blender or food processor
- A clean, airtight container for storage
- A spoon for scooping
- Paper towels for cleaning
Step 2: Harvest the Aloe Vera
If you have an aloe vera plant at home, follow these steps to harvest the leaves:
- Select Healthy Leaves: Choose thick, fleshy leaves from the outer part of the plant, which are likely to contain more gel. If you purchase leaves, look for fresh, unblemished ones at your local grocery store or farmer's market.
- Clean the Leaves: Rinse the aloe vera leaves under running water to remove any dirt or contaminants.
- Drain the Resin: Stand the leaves upright in a container for about 10-15 minutes to allow the yellow-tinted resin (aloin) to drain out. This resin can irritate the skin, so it’s crucial to remove it.
- Prepare the Leaves: Using a knife or vegetable peeler, cut off the serrated edges and then slice the top layer of skin off the leaf to reveal the clear gel inside.
Step 3: Extract the Gel
- Scoop Out the Gel: Using a spoon, carefully scoop out the clear gel from inside the leaf, avoiding any green parts as they can be irritating.
- Blend the Gel: Place the extracted gel into a blender. For a smoother consistency, blend it on high for about 30-60 seconds until frothy.
- Add Preservatives (Optional): If you want to extend the shelf life of your gel, add 500 mg of powdered vitamin C or 400 IU of vitamin E for every 1/4 cup (60 ml) of gel. Blend again until fully incorporated.
Step 4: Store the Gel
- Transfer to Container: Pour the blended gel into a clean, airtight container. Glass jars or BPA-free plastic bottles work best.
- Refrigerate: Store the gel in the refrigerator. Without preservatives, it will last for about a week; with preservatives, it can last for up to a month. For longer storage, consider freezing the gel in ice cube trays for up to six months.
Step 5: Enjoy the Benefits
Once your homemade aloe vera gel is ready, you can use it in various ways:
- Skin Soother: Apply directly to sunburned skin for cooling relief.
- Moisturizer: Use it as a lightweight moisturizer for hydration.
- Wound Healing: Apply to minor cuts or abrasions to promote healing.
- Hair Treatment: Use as a hair mask to hydrate and nourish dry hair.
The Benefits of Aloe Vera Gel for Skin
Aloe vera gel is renowned for its extensive range of skin benefits. Here are some of the key advantages:
- Hydration: Aloe vera is rich in water, making it an excellent hydrator for the skin. Its lightweight texture allows for easy absorption, providing moisture without a greasy feel.
- Healing Properties: The gel contains polysaccharides that promote healing and skin regeneration, making it beneficial for minor burns, cuts, and skin irritations.
- Anti-Inflammatory: Aloe vera has natural anti-inflammatory properties, which can help reduce redness, swelling, and inflammation associated with conditions like acne or eczema.
- Antioxidant-Rich: The vitamins A, C, and E found in aloe vera protect the skin from oxidative stress and environmental damage, contributing to a healthier complexion.
- Anti-Aging Effects: Regular use of aloe vera gel may help diminish the appearance of fine lines and wrinkles, enhancing skin elasticity and firmness.
- Acne Fighter: The antibacterial and antifungal properties of aloe vera make it effective for treating acne-prone skin, helping to prevent breakouts and soothe existing blemishes.
Additional Uses for Your Aloe Vera Gel
Beyond skincare, aloe vera gel can be a versatile ingredient in your beauty routine:
- Face Masks: Combine aloe vera gel with honey or turmeric for a nourishing face mask.
- Aftershave: Apply aloe vera gel post-shaving to soothe irritation and moisturize the skin.
- Makeup Primer: Use aloe vera gel as a natural primer to hydrate the skin before applying makeup.
FAQ
1. How long does homemade aloe vera gel last?
Without preservatives, it typically lasts about a week in the refrigerator. With the addition of powdered vitamin C or E, it can last up to a month.
2. Can I use aloe vera gel on my hair?
Absolutely! Aloe vera gel can be applied to the hair as a conditioning treatment, helping to hydrate and reduce frizz.
3. Is it safe to use aloe vera gel on my face?
Yes, homemade aloe vera gel is safe for most skin types. However, always perform a patch test to ensure no allergic reactions.
4. How can I make my aloe vera gel smell better?
You can add a few drops of your favorite essential oils, such as lavender or tea tree, to enhance the fragrance and add additional skin benefits.
5. Can I freeze aloe vera gel?
Yes, it can be frozen in small batches, such as in ice cube trays, for easy use later. Just be sure to store it in airtight containers to prevent freezer burn.
Conclusion
Creating your own organic aloe vera gel is not just a simple DIY project; it's a commitment to clean, thoughtful skincare. By harnessing the power of nature, we can provide our skin with the nourishment it craves while avoiding harmful additives often found in commercial products. Embrace the journey of skincare with us, and consider incorporating our Bundle & Save collection for a complete routine that supports your skin through all its phases.
Start enjoying the benefits of fresh aloe vera gel today, and experience the difference it can make in your skincare regimen. Together, let’s celebrate and nurture our skin as it evolves, just like the phases of the moon.
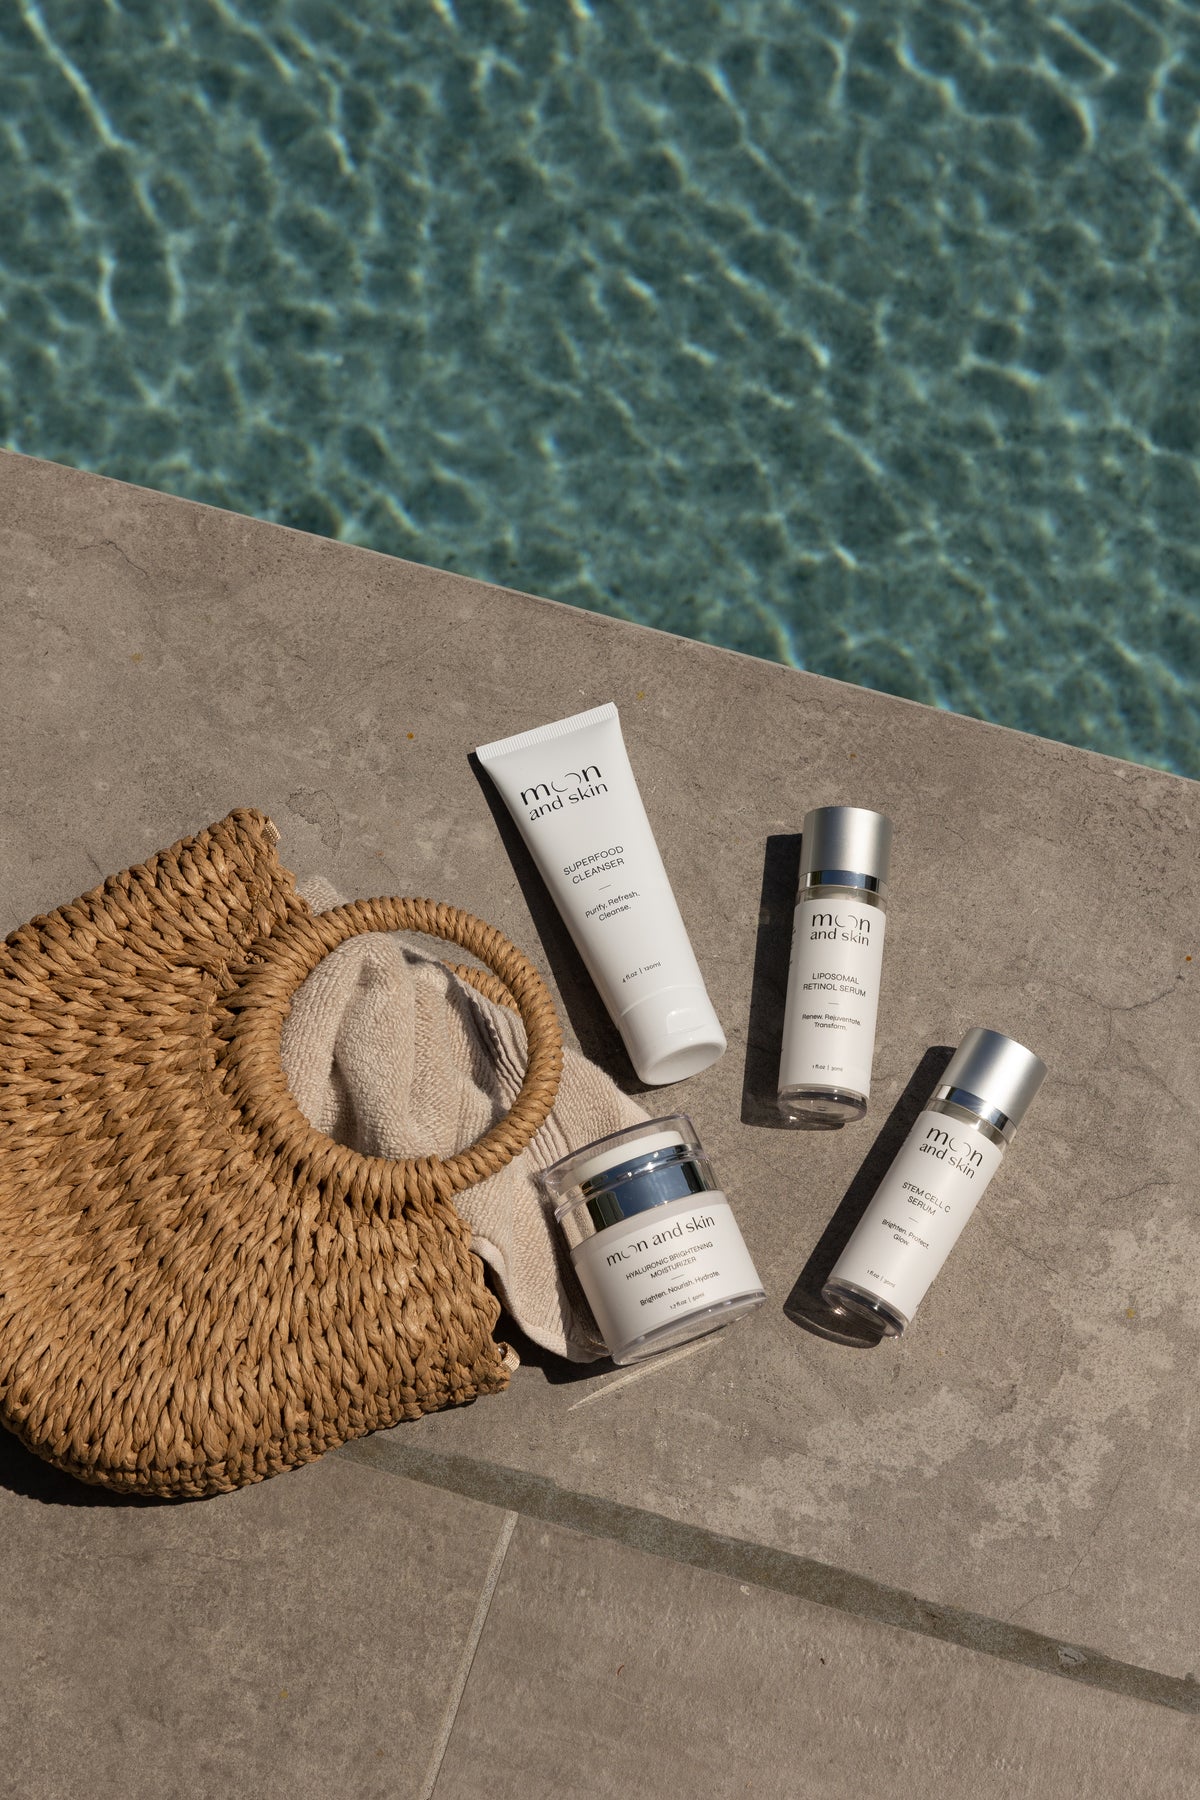
For those looking to explore more of our carefully crafted skincare options, don’t forget to check out our Best Sellers collection for our most popular products, including our Stem Cell C Serum, which brightens and hydrates your skin beautifully. Happy skincare crafting!