Table of Contents
Introduction
Did you know that the skin is our largest organ, and it can absorb the good, the bad, and the ugly? In our quest for healthy, glowing skin, we often overlook the importance of exfoliation, which is essential for maintaining skin's vitality. If you're searching for a simple, effective way to slough off dead skin cells while also nourishing your skin, a sugar scrub might just be the perfect solution.
At Moon and Skin, we believe in clean, thoughtful skincare that empowers you through every phase of life. This blog post will guide you through the process of making your own sugar scrub at home, emphasizing the benefits and versatility of this delightful DIY project. From selecting the right ingredients to incorporating it into your self-care rituals, we’ll cover everything you need to know. Let’s get started!
What is a Sugar Scrub?
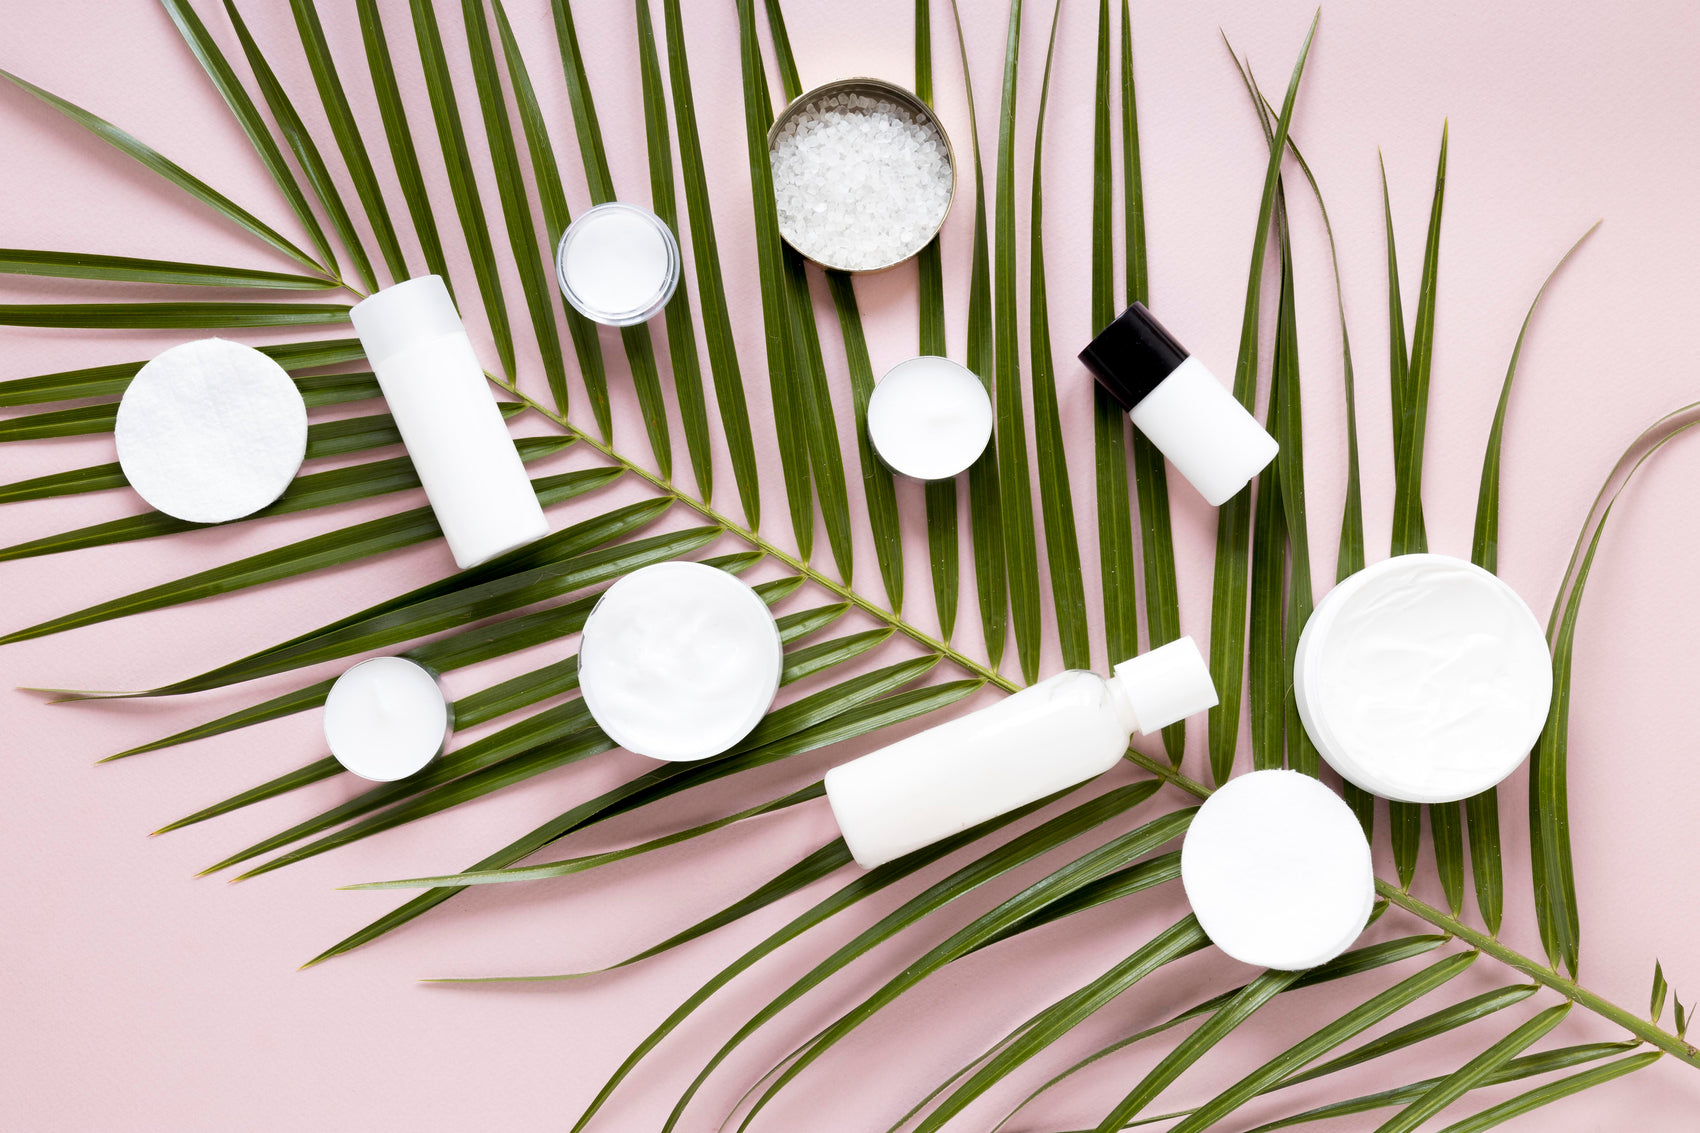
A sugar scrub is a type of exfoliating product that combines sugar—either white or brown—with an oil, such as coconut or olive oil. This mixture not only helps to remove dead skin cells but also leaves your skin feeling soft and moisturized. Think of it as a gentle way to polish your skin, revealing the fresh, healthy layers underneath.
Benefits of Sugar Scrubs
Sugar scrubs offer a multitude of benefits for your skin:
- Exfoliation: The granules of sugar help remove dead skin cells, promoting cell turnover.
- Moisturization: Oils in the scrub hydrate the skin, preventing dryness.
- Improved Circulation: The act of scrubbing stimulates blood flow, which can enhance the overall health of your skin.
- Gentle Enough for Most Skin Types: Unlike salt scrubs, sugar scrubs are less abrasive, making them suitable for sensitive skin.
- Customizable: You can easily adjust the formula to suit your preferences by adding essential oils, extracts, or even color.
Key Ingredients for Your Sugar Scrub
Creating a sugar scrub is straightforward, requiring just a few key ingredients. Here’s what you’ll need:
- Sugar: You can choose from different types of sugar based on your preference. White granulated sugar is fine for a traditional scrub, while brown sugar offers a gentler exfoliation due to its smaller granules.
- Oil: The oil you select will influence the texture and moisturizing properties of your scrub. Coconut oil is a favorite due to its solid state at room temperature, but you can also use olive oil, jojoba oil, or sweet almond oil.
- Essential Oils (optional): For added fragrance and therapeutic benefits, consider incorporating essential oils like lavender, eucalyptus, or citrus.
- Extras (optional): You can customize your scrub with vitamin E oil for extra nourishment, citrus zest for a fresh scent, or even coffee grounds for an invigorating exfoliation.
How to Make Sugar Scrub
Now, let’s get into the nitty-gritty of how to make sugar scrub at home. Follow these simple steps to create your own:
Basic Sugar Scrub Recipe
Ingredients:
- 1 cup sugar (white or brown)
- 1/2 cup oil (coconut, olive, or your choice)
- 10-15 drops of essential oil (optional)
- Optional: Zest of 1 lemon or orange, 1 teaspoon of vitamin E oil
Instructions:
- Mix the Ingredients: In a medium bowl, combine the sugar and oil. Use a spoon or spatula to mix until the sugar is evenly coated.
- Add Optional Ingredients: If you’re using essential oils or citrus zest, fold them into the mixture now.
- Adjust Consistency: If your scrub is too dry, add a little more oil. If it’s too wet, add more sugar until you achieve the desired consistency. It should be thick enough to hold its shape but not too dry.
- Transfer to a Container: Spoon the scrub into an airtight container, such as a mason jar. Seal it tightly to keep it fresh.
- Label and Store: Label your container with the date and any added ingredients. Store the scrub at room temperature, away from moisture.
Tips for Using Your Sugar Scrub
- Application: Use the scrub on dry or damp skin, applying it in circular motions. Focus on rough areas like elbows, knees, and feet.
- Frequency: Limit your use to 1-2 times per week to avoid over-exfoliating.
- Post-Application Care: After rinsing off the scrub, follow up with a moisturizer to lock in hydration.
Customizing Your Sugar Scrub
While the basic recipe is fantastic, why not get creative? Here are some variations to elevate your sugar scrub experience:
Citrus Sunshine Scrub
- Add: Zest of 1 orange or lemon and 10 drops of citrus essential oil.
- Benefits: The citrus zest not only adds a refreshing scent but also provides a burst of vitamin C for your skin.
Lavender Dream Scrub
- Add: 10 drops of lavender essential oil.
- Benefits: Lavender is known for its calming properties, making this scrub perfect for a relaxing evening routine.
Coffee Boost Scrub
- Add: 1/2 cup of used coffee grounds.
- Benefits: Coffee grounds provide a unique exfoliating experience and are thought to improve circulation and reduce the appearance of cellulite.
Why Choose Homemade Over Store-Bought?
At Moon and Skin, we believe in the power of clean, thoughtful formulations. Making your own sugar scrub allows you to control the ingredients, ensuring they are free from harmful chemicals and toxins. With a simple DIY approach, you can create a product that reflects your values and skincare needs.
Cost-Effectiveness
Homemade sugar scrubs are often more cost-effective than purchasing high-end products. The ingredients are generally inexpensive and can be found in your kitchen.
Eco-Friendly
By creating your own scrub, you can reduce packaging waste and opt for sustainable ingredients, aligning with our commitment to harmony with nature.
Incorporating Sugar Scrub into Your Routine
Integrating sugar scrubs into your skincare routine can transform your self-care practice. Here are some ideas on how to make the most of your scrub:
- Spa Day at Home: Set aside time for a DIY spa day. Light some candles, play relaxing music, and indulge in a full-body scrub.
- Gift Giving: Homemade sugar scrubs make thoughtful gifts. Pair them with a beautiful jar and a handwritten note for a personal touch.
- Encourage Mindfulness: Use the application process as a moment of mindfulness. Focus on the sensations of the scrub and the act of caring for your skin.
Final Thoughts
Making your own sugar scrub is an empowering experience that allows you to treat your skin with kindness. By choosing natural ingredients and customizing your scrub to fit your preferences, you can create a product that not only exfoliates but also nourishes and hydrates your skin.
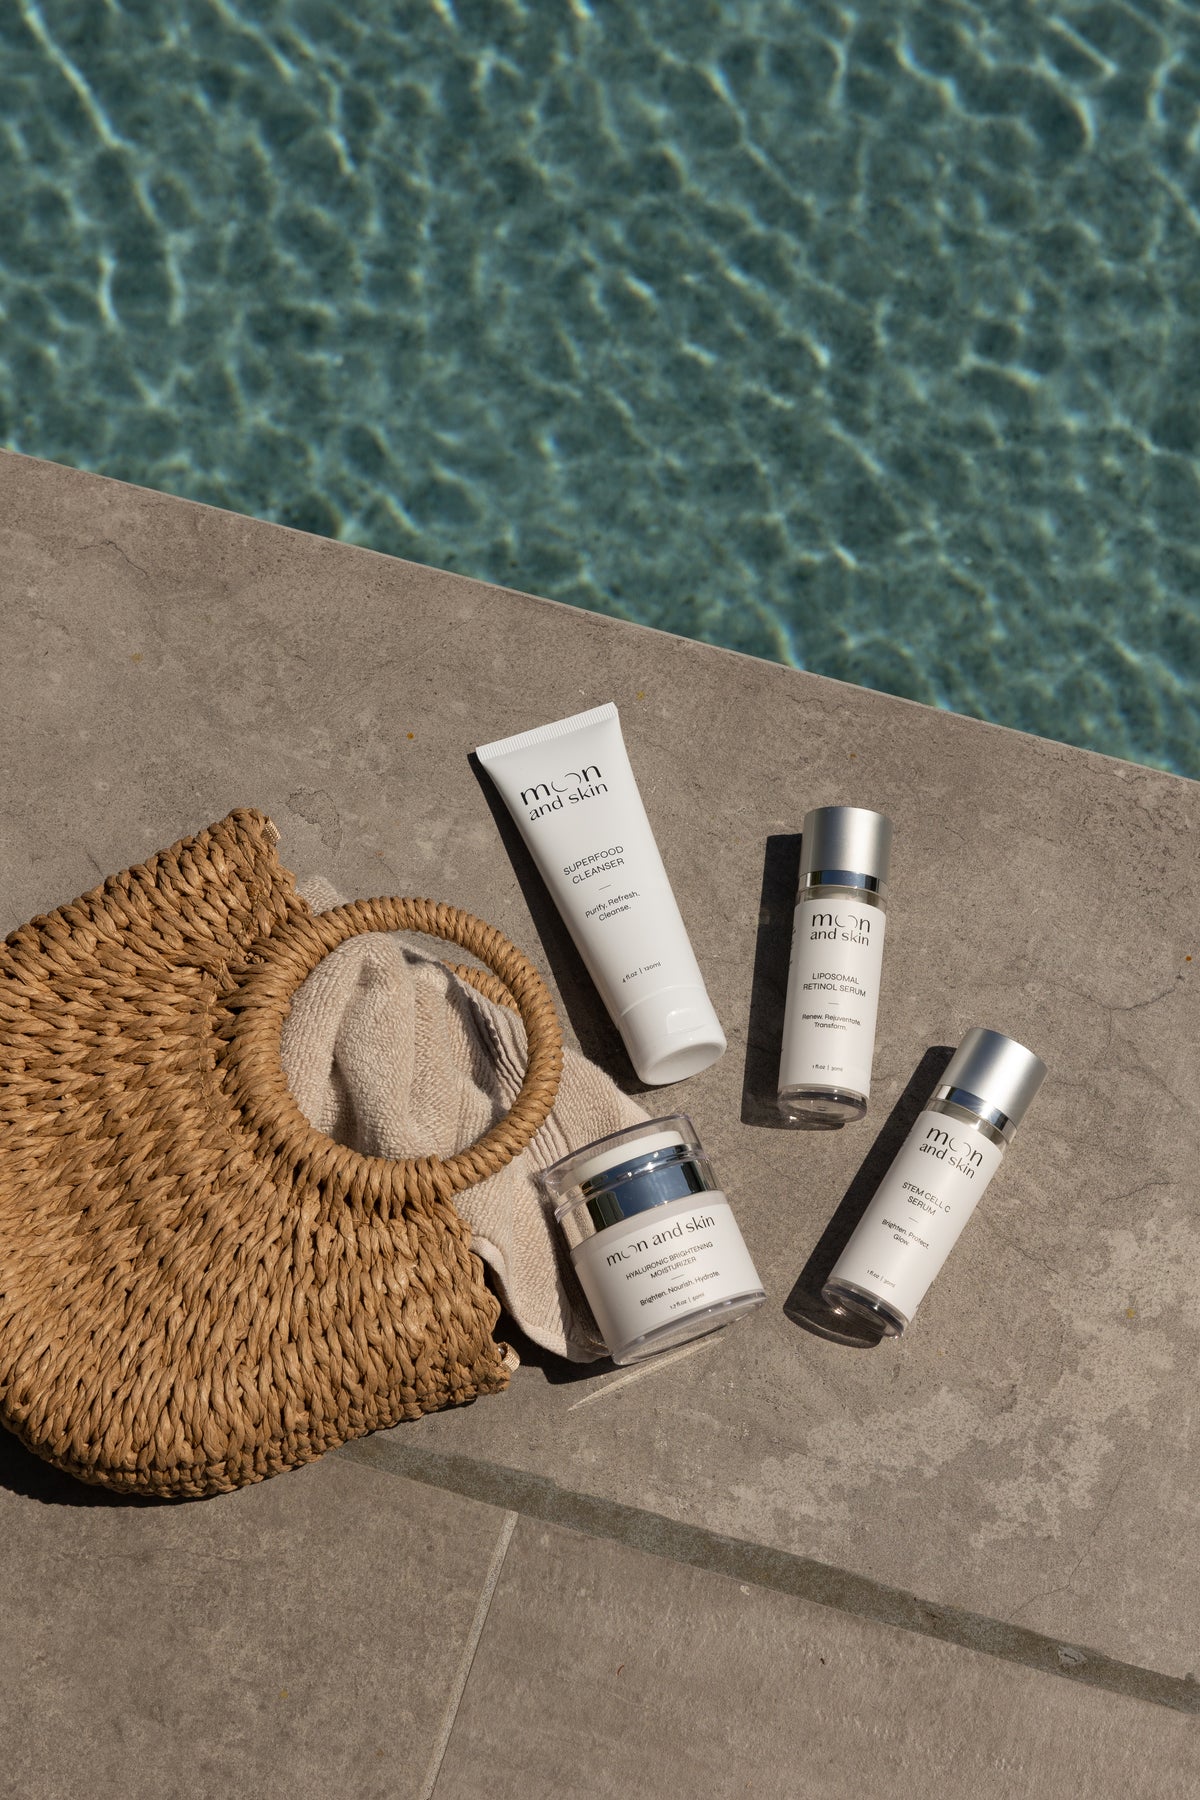
If you’re looking for a complete skincare routine, consider exploring our Bundle & Save collection, where you can find our best-selling products that complement your sugar scrub, such as our Hyaluronic Brightening Moisturizer for ultimate hydration and glow.
FAQs
How often should I use a sugar scrub? It's best to use a sugar scrub 1-2 times a week to avoid over-exfoliation.
Can I use sugar scrub on my face? While sugar scrubs are gentler than salt scrubs, we recommend using them sparingly on the face or opting for a dedicated facial scrub.
How do I store my sugar scrub? Keep your sugar scrub in an airtight container at room temperature. Avoid introducing moisture into the jar to prolong its shelf life.
What if my scrub separates? Natural separation can occur due to temperature changes. Simply stir the scrub before use to recombine the ingredients.
What are the benefits of using sugar scrubs? Sugar scrubs exfoliate dead skin cells, moisturize the skin, and improve circulation, leaving your skin feeling soft and revitalized.
By embracing the art of making your own sugar scrub, you’re not just treating yourself to luxurious skincare; you're also fostering a mindful approach to self-care. So gather your ingredients, get creative, and enjoy the process!