Table of Contents
Introduction
Imagine stepping into a warm shower after a long day, the soothing scent of your favorite essential oil filling the air, while your hands glide over your skin, revealing a softness you thought was lost. This is the magic of a whipped sugar scrub—a luxurious treat that not only exfoliates but hydrates and revitalizes the skin. With so many store-bought options filled with synthetic ingredients, making your own natural whipped sugar scrub is not just a fun DIY project, but also a step toward cleaner skincare.
At Moon and Skin, we believe in clean, thoughtful formulations that empower our community to embrace their skin journey at every phase of life. Today, we're excited to share how to make whipped sugar scrub, combining nourishing ingredients that align with our values of harmony with nature and education. This blog post will guide you through the process of crafting your homemade sugar scrub, highlight its benefits, provide ingredient options, and offer tips for storage and usage. Together, we’ll explore this delightful recipe that promises to elevate your skincare routine.
Why Whipped Sugar Scrub?
Whipped sugar scrub stands out because of its creamy texture and gentle exfoliating properties. Unlike traditional scrubs that can be harsh on the skin, whipped sugar scrubs blend sugar with moisturizing oils, creating a product that not only sloughs off dead skin cells but also hydrates and nourishes. The result? Smooth, soft skin that feels rejuvenated.
The sugar acts as a natural exfoliant, while oils like coconut oil or sweet almond oil provide hydration, making this scrub suitable for various skin types. Plus, the ability to customize your scrub with essential oils allows you to create a sensory experience that can calm your mind or invigorate your spirit.
What You Will Learn
In this post, we will cover:
- The benefits of using a whipped sugar scrub.
- The ingredients you need to make your own scrub.
- Step-by-step instructions on how to make it.
- Tips for personalizing your scrub with scents and colors.
- How to store and use your whipped sugar scrub for the best results.
Let’s embark on this journey to crafting a beautiful whipped sugar scrub that aligns with our commitment to clean skincare!
Benefits of Whipped Sugar Scrub
Before diving into the recipe, let’s discuss why incorporating a whipped sugar scrub into your skincare routine can be beneficial.
1. Exfoliation
Exfoliating regularly helps remove dead skin cells, which can lead to a brighter, smoother complexion. Sugar granules are gentle on the skin while still being effective in sloughing off the debris that can cause dullness or uneven texture.
2. Hydration
When combined with nourishing oils, a whipped sugar scrub not only exfoliates but also hydrates the skin. Ingredients like coconut oil or jojoba oil penetrate deeply, providing moisture and helping to lock it in.
3. Improved Circulation
The act of scrubbing can stimulate blood flow, promoting healthier skin. Improved circulation can enhance the delivery of nutrients to skin cells, aiding in overall skin health.
4. Customizable Scents
One of the joys of making your own whipped sugar scrub is the ability to customize it according to your preferences. You can choose essential oils that resonate with you—whether it’s calming lavender, refreshing peppermint, or uplifting citrus.
5. Clean Ingredients
By making your own scrub, you control what goes into it. Choose organic and natural ingredients that align with your values and skin needs, avoiding harmful chemicals often found in commercial products.
6. Cost-Effective
Creating your own skincare products can be more economical than buying premium scrubs. With basic ingredients that are often already in your pantry, you can whip up a luxurious scrub for a fraction of the cost.
Ingredients for Whipped Sugar Scrub
Creating a whipped sugar scrub is straightforward and requires only a few key ingredients. Here’s what you’ll need:
1. Sugar
- Granulated Sugar: This is the most common choice for scrubs as it provides effective exfoliation. It’s gentle enough for most skin types.
- Brown Sugar: A softer alternative that’s perfect for sensitive skin types. Its finer granules are less abrasive.
- Coconut Sugar: A natural sugar that has a low glycemic index and can be used if you're looking for a more eco-conscious option.
2. Oils
- Coconut Oil: Solid at room temperature, it adds a creamy texture to your scrub while providing deep hydration. It also has antibacterial properties.
- Sweet Almond Oil: Another excellent choice that absorbs well and is rich in vitamins E and A, promoting skin health.
- Jojoba Oil: Closely resembles the skin's natural oils, making it ideal for all skin types.
- Olive Oil: A more accessible option that provides moisture but may have a heavier feel.
3. Essential Oils (Optional)
For scent and additional skin benefits, you can add essential oils like:
- Lavender: Calming and soothing.
- Peppermint: Invigorating and refreshing.
- Lemon or Orange: Uplifting and brightening.
- Eucalyptus: Cleansing and refreshing.
4. Optional Additives
- Vitamin E Oil: Enhances the moisturizing properties of your scrub and acts as a natural preservative.
- Natural Colorants: If you wish to add a pop of color, consider using natural food coloring or beet powder.
Step-by-Step Instructions to Make Whipped Sugar Scrub
Now that we have our ingredients ready, it’s time to get started on making our whipped sugar scrub! Follow these simple steps:
Step 1: Gather Your Materials
You will need:
- Mixing bowl
- Electric mixer or whisk
- Measuring cups
- Storage container (like a mason jar)
Step 2: Measure Ingredients
- 1 cup of sugar (granulated or brown)
- ½ cup of coconut oil (solid, not melted)
- 1-2 teaspoons of essential oil (optional, adjust based on preference)
- 1 teaspoon of Vitamin E oil (optional)
Step 3: Whip the Coconut Oil
In a mixing bowl, add the solid coconut oil. Using an electric mixer, whip the coconut oil on medium-high speed for about 2-3 minutes, until it becomes light and fluffy.
Step 4: Add Sugar
Gradually add the sugar to the whipped coconut oil. Continue mixing until the sugar is fully incorporated and the mixture is smooth.
Step 5: Incorporate Essential Oils
Add your chosen essential oils and Vitamin E oil (if using). Mix until well combined. You should have a fluffy, creamy texture that holds together.
Step 6: Transfer to Storage Container
Scoop the whipped sugar scrub into your storage container, packing it down to minimize air pockets. Seal it tightly to preserve freshness.
Step 7: Enjoy Your Scrub!
Your whipped sugar scrub is now ready to use! Apply a small amount to wet skin while in the shower or bath, massaging gently in circular motions. Rinse off and enjoy the softness!
Tips for Personalizing Your Whipped Sugar Scrub
1. Customizing Scents
Experiment with different essential oil blends to create your unique scent profile. For a spa-like experience, try blending lavender and eucalyptus; for a refreshing pick-me-up, combine citrus oils with peppermint.
2. Textural Variations
If you prefer a coarser scrub, you can adjust the sugar type or increase the sugar amount. Conversely, for a gentler scrub, reduce the sugar content slightly.
3. Natural Colorants
For a fun twist, add natural colorants such as spirulina powder for green hues or beet powder for a pink tint. Remember to mix in small amounts until you achieve your desired color.
Storing Your Whipped Sugar Scrub
To maintain the quality of your whipped sugar scrub, store it in a cool, dry place. If you live in a warmer climate, you may want to keep it in the refrigerator to prevent the oils from melting. Use clean hands or a spoon to scoop out the scrub to avoid introducing bacteria.
Shelf Life
When stored properly, your whipped sugar scrub can last up to three months. If you notice any separation, simply give it a good stir before use.
How to Use Your Whipped Sugar Scrub
Using your whipped sugar scrub is simple and enjoyable:
- Wet your skin in the shower or bath.
- Scoop a small amount of the scrub into your hands.
- Massage gently onto your skin in circular motions, focusing on rough areas like elbows and knees.
- Rinse thoroughly with warm water.
- Pat dry and follow up with your favorite moisturizer for extra hydration.
We recommend using the scrub 2-3 times a week for optimal results.
Conclusion
Crafting your own whipped sugar scrub is not only a delightful and satisfying experience, but it also aligns perfectly with our commitment to clean, thoughtful skincare. With a few simple ingredients, you can create a luxurious scrub that nourishes your skin while respecting its natural balance.
By incorporating our core values into this DIY project, we invite you to celebrate your skin's journey at every phase of life. At Moon and Skin, we’re here to support you in your quest for healthy, glowing skin.
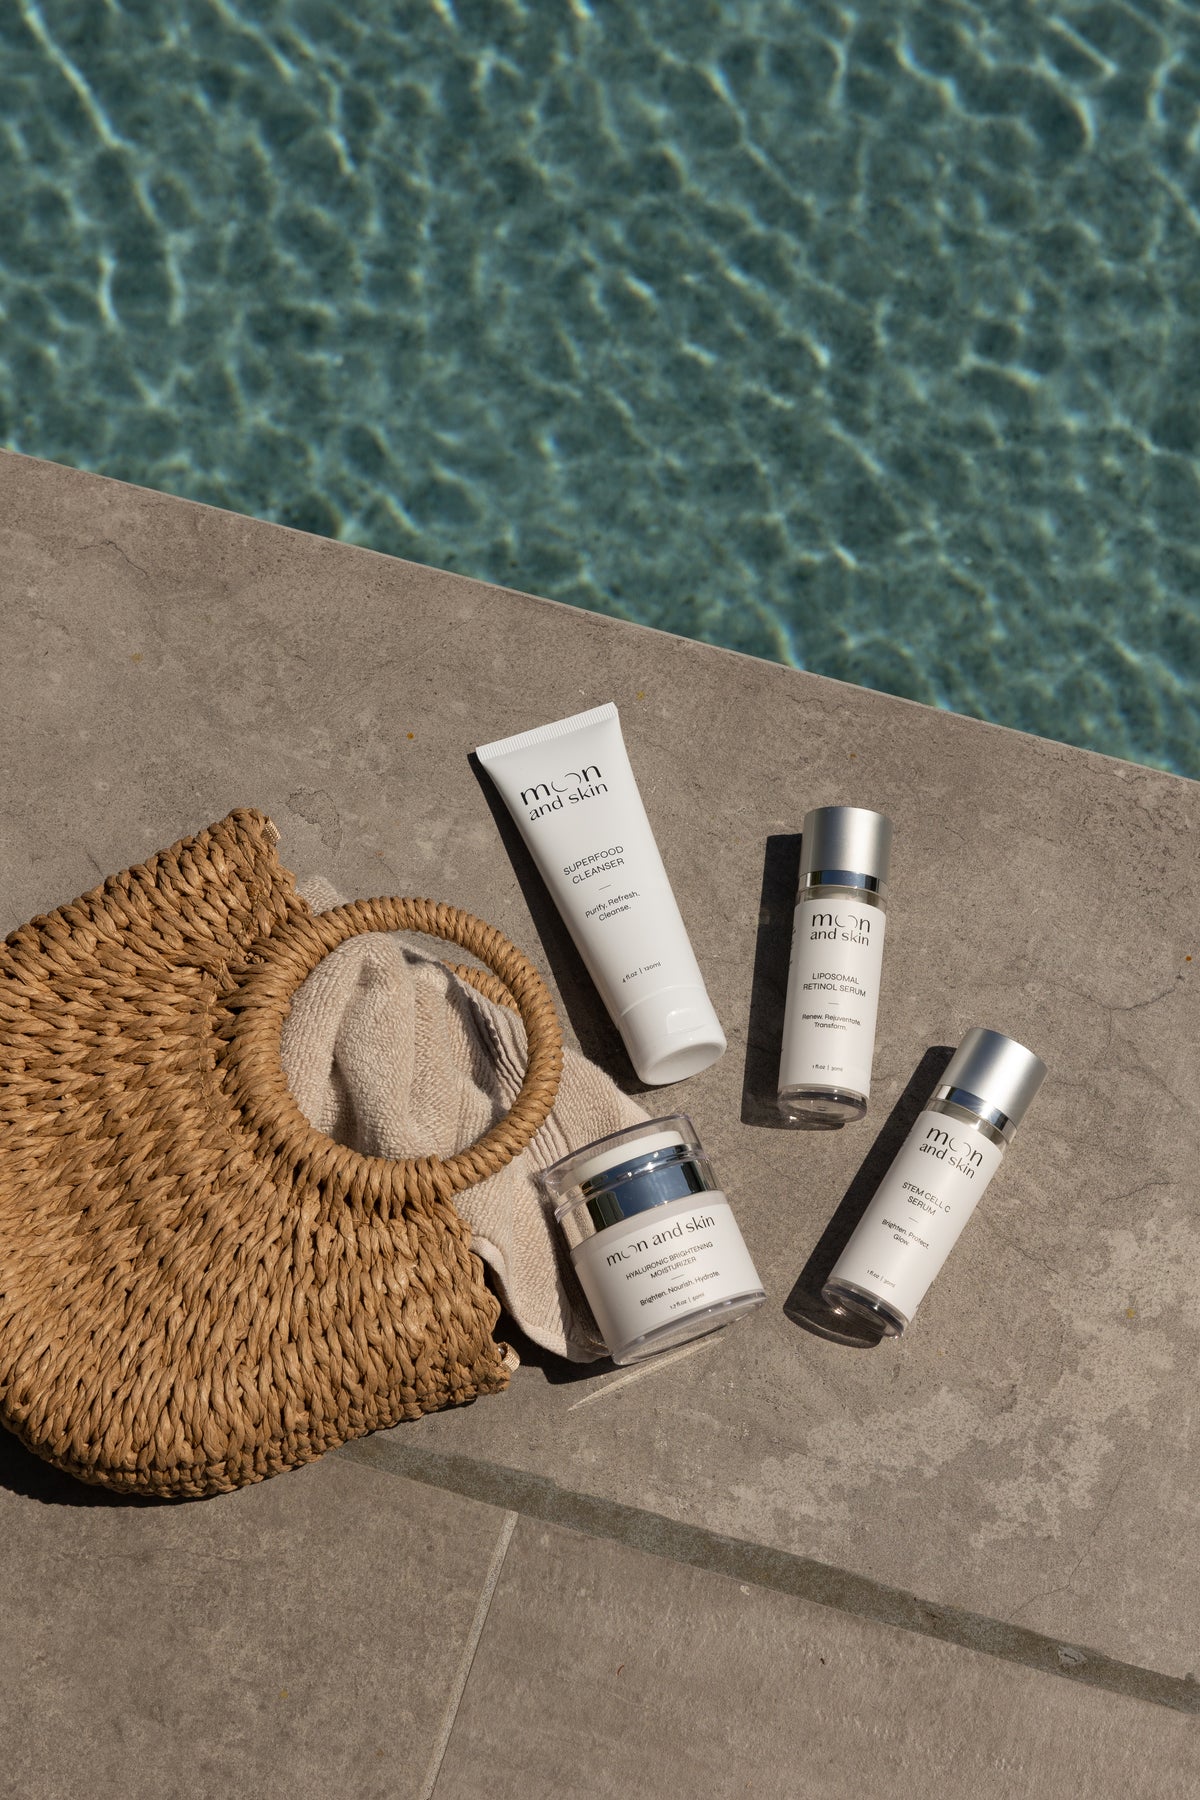
If you're looking to build a complete skincare routine, consider our Bundle & Save collection, which includes our best-selling products designed to work harmoniously together.
FAQ
1. Can I use this scrub on my face? While this scrub can be gentle, it is best suited for the body. For facial scrubs, consider using finer sugars or specific formulations designed for sensitive facial skin.
2. How often should I use the whipped sugar scrub? We recommend using the scrub 2-3 times a week, depending on your skin type and sensitivity.
3. Can I add food coloring to the scrub? Yes! You can add natural food coloring or other natural colorants to give your scrub a fun, personalized touch. Just be sure to mix well for even distribution.
4. What if my scrub separates? This can happen if stored in a warm environment. Simply stir it back together before use, and consider storing it in a cooler place.
5. Can I gift this scrub? Absolutely! Whipped sugar scrub makes a thoughtful and personalized gift. Package it in a cute jar with a label for a lovely presentation.
Explore all our products and collections at Moon and Skin, and elevate your skincare journey today!