Table of Contents
Introduction
Have you ever wondered what goes into the soothing bottle of witch hazel extract you see on store shelves? While it's a popular remedy for various skin concerns, the commercial versions often contain more alcohol than actual witch hazel. This raises a critical question: why settle for store-bought when you can create your own pure witch hazel extract at home?
Witch hazel (Hamamelis virginiana) is a plant revered for its astringent, anti-inflammatory, and soothing properties. It has been used for centuries by Native Americans and is recognized today for its various benefits, including reducing skin irritation, tightening pores, and healing minor wounds. Making your own witch hazel extract not only ensures purity but also allows you to experience the full spectrum of its benefits.
In this post, we’ll guide you through the process of crafting your own witch hazel extract from scratch. We’ll explore its benefits, the best methods to prepare it, and how to incorporate it into your skincare routine. Together, we’ll ensure that you have the knowledge and confidence to harness the natural power of witch hazel.
Why Make Your Own Witch Hazel Extract?
Benefits of Homemade Witch Hazel Extract
- Purity and Control: When you make your own extract, you know exactly what ingredients are included. Most commercial witch hazel products contain high levels of alcohol and preservatives that can be harsh on the skin. By creating your own, you can tailor the formulation to your skin’s needs.
- Cost-Effective: Homemade witch hazel can save you money in the long run. The cost of purchasing witch hazel bark or twigs is often less than buying pre-made extracts.
- Enhanced Benefits: Homemade extracts can be richer in beneficial compounds. By controlling the extraction process, you can ensure that you’re capturing the full essence of the plant.
- Sustainability: Making your own witch hazel reduces waste and reliance on commercial products, fostering a more sustainable approach to skincare.
The Science Behind Witch Hazel
Witch hazel contains tannins, flavonoids, and other compounds that contribute to its medicinal properties. Tannins are known for their astringent qualities, which help to tighten the skin and reduce inflammation. This makes witch hazel particularly effective for oily and acne-prone skin, as it can help manage excess oil and reduce the appearance of pores.
Additionally, witch hazel is rich in antioxidants, which combat free radicals and support skin health. By crafting your own extract, you can ensure that these beneficial compounds remain intact and effective.
Step-by-Step Guide to Making Witch Hazel Extract
Ingredients
- Witch hazel twigs or bark: Approximately ½ pound, harvested from the plant.
- Distilled water: Enough to cover the plant material.
- Vodka or pure grain alcohol (optional): For preservation, preferably 80-proof.
Equipment Needed
- A non-reactive pot (stainless steel or enamel-coated)
- A fine-mesh strainer or cheesecloth
- Sterilized amber glass bottles for storage
- Measuring cups
- A small pair of pruning shears
Harvesting Witch Hazel
- Identifying the Plant: Witch hazel is a shrub native to North America, characterized by its unique yellow flowers that bloom in late fall. Make sure you can positively identify the plant before harvesting.
- Gathering Twigs: The best time to harvest witch hazel is in late fall or early winter when the flowers are still present. Select young, flexible twigs, cutting them into small (1-inch) pieces.
Preparing the Extract Base
- Combine Ingredients: Add the chopped witch hazel twigs to your pot, using a ratio of 4 parts distilled water to 1 part plant material. For example, if you’re using 1 cup of twigs, add 4 cups of distilled water.
- Simmer: Bring the mixture to a gentle boil and then reduce the heat to a simmer. Allow it to cook down for 20-30 minutes. The volume should reduce by about half, concentrating the beneficial compounds from the twigs into the water.
Adding Vodka for Preservation
- Calculate Vodka Amount: Once you’ve strained the liquid, measure the amount of witch hazel extract you have. For every 1 cup of extract, you’ll need to add approximately ½ cup of vodka or pure grain alcohol to achieve a final alcohol concentration of about 25-30%.
- Mix and Store: Stir the vodka into the strained extract. Pour the finished witch hazel extract into sterilized amber glass bottles to protect it from light. Store the bottles in a cool, dark place.
Storing Your Witch Hazel Extract
- Shelf Life: If preserved with alcohol, your homemade witch hazel extract can last for up to 1-2 years. If you choose to omit the alcohol, store the extract in the refrigerator and use it within a week.
Enjoying and Using Your Witch Hazel Extract
Now that you’ve crafted your own witch hazel extract, how can you incorporate it into your skincare routine? Here are some ideas:
- Facial Toner: Apply the extract with a cotton ball after cleansing to tighten pores and remove excess oil. It can be especially beneficial for oily or combination skin.
- Soothing Skin Spray: Dilute your witch hazel extract with distilled water in a spritzer bottle for a refreshing skin spray. This can be used throughout the day to hydrate and calm irritation.
- Minor Ailments: Use your witch hazel extract to soothe minor cuts, bruises, or insect bites. The astringent properties can help reduce inflammation and promote healing.
- Hair and Scalp Treatment: Witch hazel can also be applied to the scalp to relieve itchiness and dandruff. Mix it with a carrier oil for a soothing scalp treatment.
Why We Prefer Twigs Over Bark
While both witch hazel bark and twigs contain beneficial properties, there are several reasons why we prefer using twigs for our extract:
- Sustainability: Harvesting twigs is generally more sustainable than stripping bark, which can damage the plant. Twigs allow the plant to continue thriving while still providing potent benefits.
- Availability: Twigs are often more readily available than bark, especially when witch hazel is in bloom. This makes it easier to gather fresh material for your extract.
- Concentration: While bark may have a slightly higher concentration of tannins, twigs still offer an effective source for a strong extract, especially when prepared using a reduction method.
Conclusion
Creating your own witch hazel extract is a rewarding process that connects you to nature and empowers you with knowledge about your skincare. From understanding the benefits of the plant to mastering the preparation methods, you can craft a product that is not only effective but also free from unwanted additives.
We invite you to explore the many uses of witch hazel in your daily routine. With its astringent, soothing properties, this versatile extract can elevate your skincare regimen and help you achieve healthier skin.
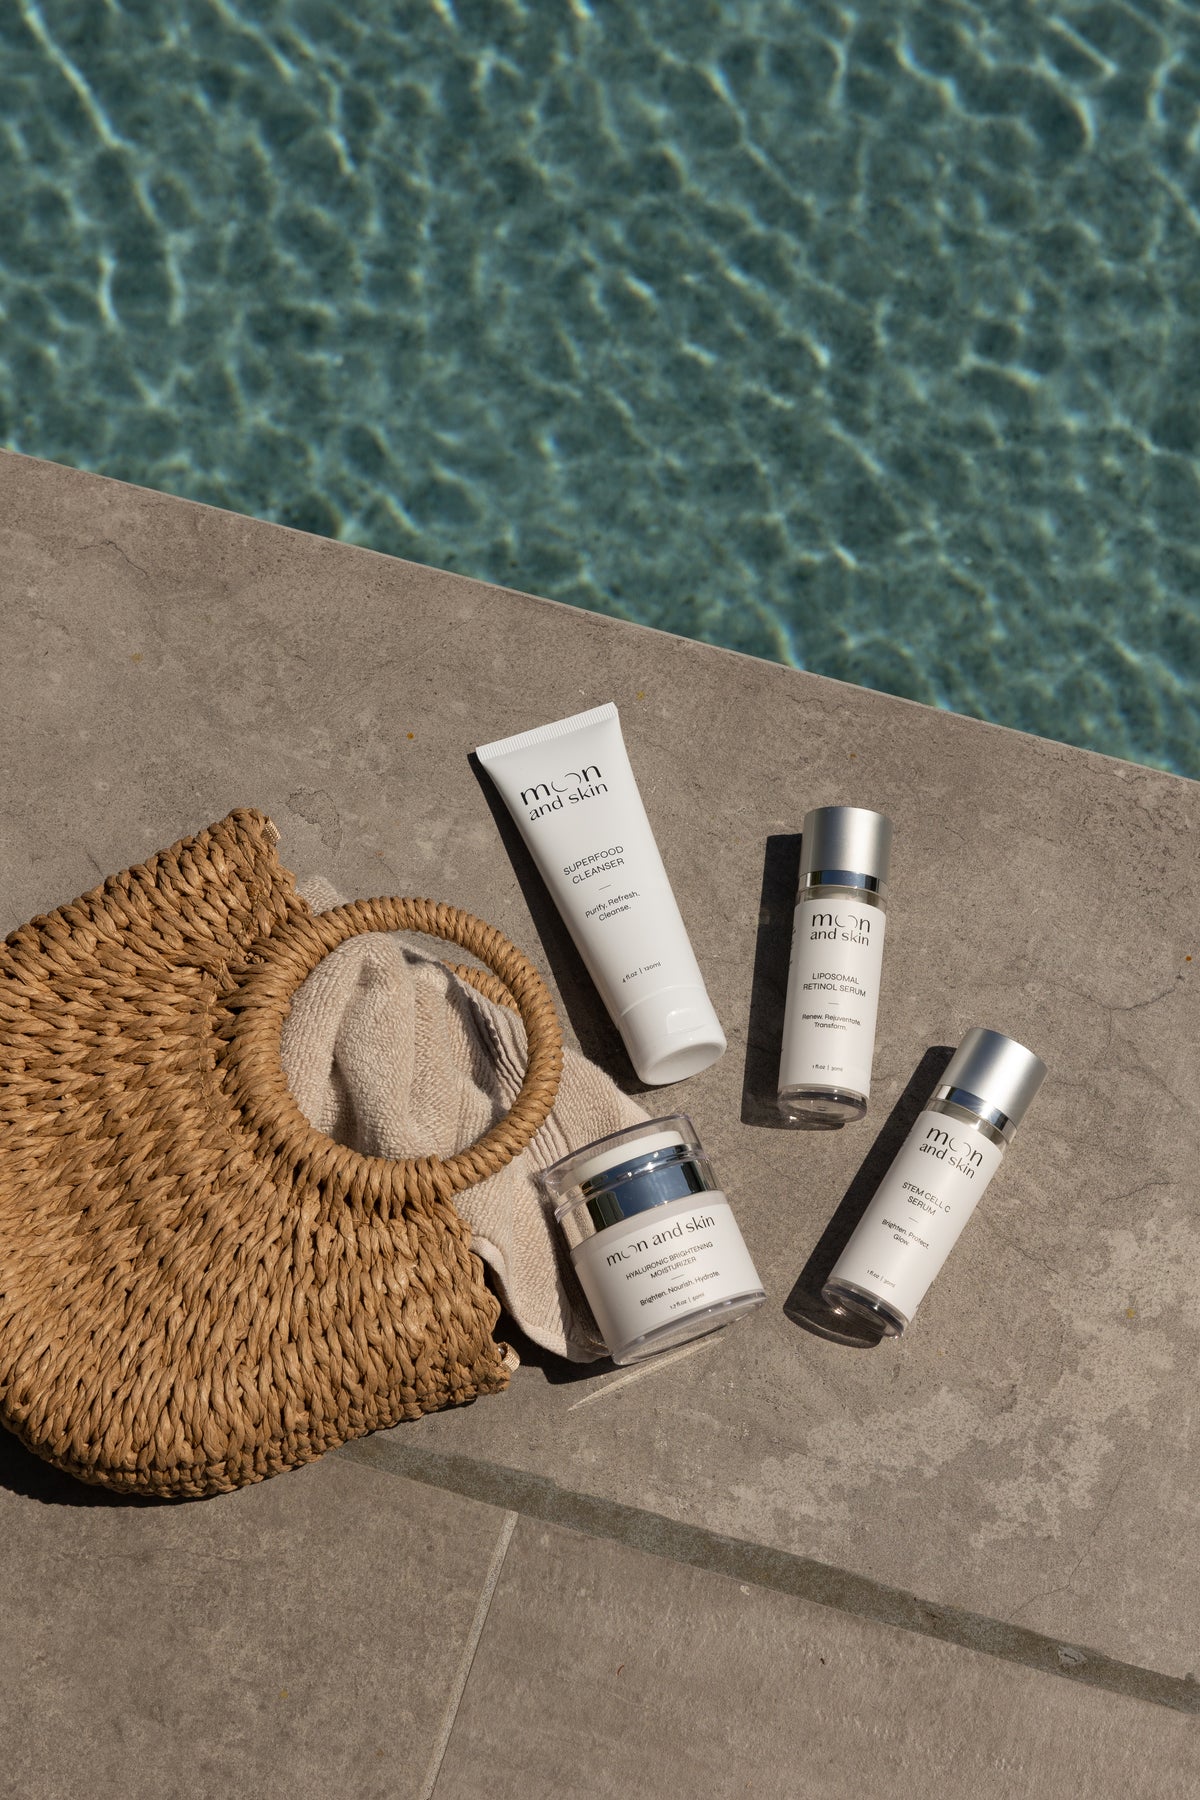
If you’re looking for a complete skincare routine, consider our Bundle & Save collection. Each product is designed to work harmoniously with your skin, providing clean and thoughtful formulations for every phase of life.
FAQ
Q: Can I use witch hazel extract on sensitive skin?
A: While witch hazel is generally safe for most skin types, it’s always best to perform a patch test first, especially if you have sensitive skin.
Q: How often should I use witch hazel extract?
A: You can use witch hazel extract daily as a facial toner or as needed for soothing minor irritations.
Q: Can I consume witch hazel extract?
A: While witch hazel is primarily used for external applications, some traditional practices involve internal use. However, we recommend consulting a healthcare professional before ingesting any herbal extract.
Q: What are the signs that my witch hazel extract has gone bad?
A: If you notice any off smells, cloudiness, or mold, it’s best to discard the extract.
Q: Can I mix witch hazel with other ingredients?
A: Yes! Witch hazel works well with essential oils, aloe vera, and other natural ingredients for enhanced benefits. Just ensure to maintain the right ratios for safety and efficacy.
By making your own witch hazel extract, you’re not just creating a skincare product—you’re embracing a holistic approach to skin health. Together, let’s celebrate the journey of skincare through nature’s wisdom.