Table of Contents
Introduction
Have you ever wondered why the skincare world is buzzing about oil cleansing? It might seem counterintuitive to apply oil to your skin, especially if you have oily or acne-prone skin. However, the oil cleansing method is gaining traction as a gentle yet effective way to cleanse the skin without stripping away its natural moisture. With an increasing number of people looking for clean and thoughtful skincare solutions, understanding how to oil cleanse can be a game-changer for achieving healthy, radiant skin.
At Moon and Skin, we believe in the harmony between nature and skincare, and we are excited to guide you through the transformative journey of oil cleansing. In this post, we will explore the benefits of oil cleansing, how it works, the best oils to use, and step-by-step instructions to incorporate this method into your skincare routine. Together, we will empower you to make informed decisions for your skin, celebrating its unique journey through every phase of life.
What is Oil Cleansing?
Oil cleansing is a skincare technique that involves using oils to dissolve makeup, dirt, and impurities from the skin. The principle behind this method is based on the concept of "like dissolves like." In other words, oil can effectively lift and remove other oils and impurities from the skin's surface. This makes oil cleansing particularly beneficial for those who wear makeup or have skin that tends to accumulate excess oil and impurities.
The Science Behind Oil Cleansing
When we cleanse our skin using traditional soaps and detergents, it often leads to an imbalance in the skin's natural barrier. Harsh cleansers can strip the skin of its natural oils, leading to dryness and irritation, which in turn can trigger the skin to produce even more oil. Oil cleansing, on the other hand, works harmoniously with the skin's natural processes, preserving its moisture while effectively removing impurities.
Studies suggest that oil cleansing can promote better skin barrier function, helping to relieve dryness and enhance overall skin health. For instance, a 2017 study indicated that using bath oil could improve skin barrier function more effectively than oil-free cleansers. By embracing oil cleansing, we can nurture our skin's natural defenses and maintain its balance.
The Benefits of Oil Cleansing
- Gentle Makeup Removal: Oil cleansing effectively dissolves makeup, including waterproof formulas, without harsh scrubbing.
- Hydration: Nourishing oils can hydrate the skin, leaving it feeling soft and supple after cleansing.
- Balancing Oil Production: Contrary to popular belief, applying oil can signal to the skin that it doesn't need to produce excess oil, helping to balance oily skin.
- Enhanced Skin Barrier: Oil cleansing can help maintain the skin's lipid layer, protecting it from environmental stressors.
- Reduced Breakouts: By promoting a healthy skin microbiome, oil cleansing may help reduce acne and congestion.
How to Choose the Right Oil for Cleansing
Selecting the right oil for your skin type is crucial to maximizing the benefits of oil cleansing. Here are some popular options based on different skin types:
For Oily or Acne-Prone Skin
- Jojoba Oil: This oil closely resembles the skin's natural sebum, making it an excellent choice for balancing oil production without clogging pores.
- Grapeseed Oil: Known for its lightweight texture, grapeseed oil is non-comedogenic and suitable for oily skin.
- Marula Oil: This oil is non-greasy and can help regulate sebum production while providing hydration.
For Dry Skin
- Olive Oil: Rich in antioxidants, olive oil is an excellent hydrator that can help restore moisture to dry skin.
- Coconut Oil: This oil provides intense hydration and is perfect for those with very dry skin, but be cautious if you're prone to breakouts.
For Sensitive Skin
- Rosehip Oil: Known for its soothing properties, rosehip oil can help calm irritated skin and improve overall texture.
- Sunflower Oil: This gentle oil is well-tolerated by sensitive skin types and provides hydration without irritation.
When selecting an oil, always aim for high-quality, cold-pressed, and unrefined options to ensure you receive the maximum benefits without harmful additives.
Step-by-Step: How to Oil Cleanse
Now that you understand the benefits and how to choose the right oil, let’s walk through the oil cleansing process. This simple, effective method can easily be integrated into your nighttime skincare routine.
Step 1: Gather Your Tools
Before you start, gather the following items:
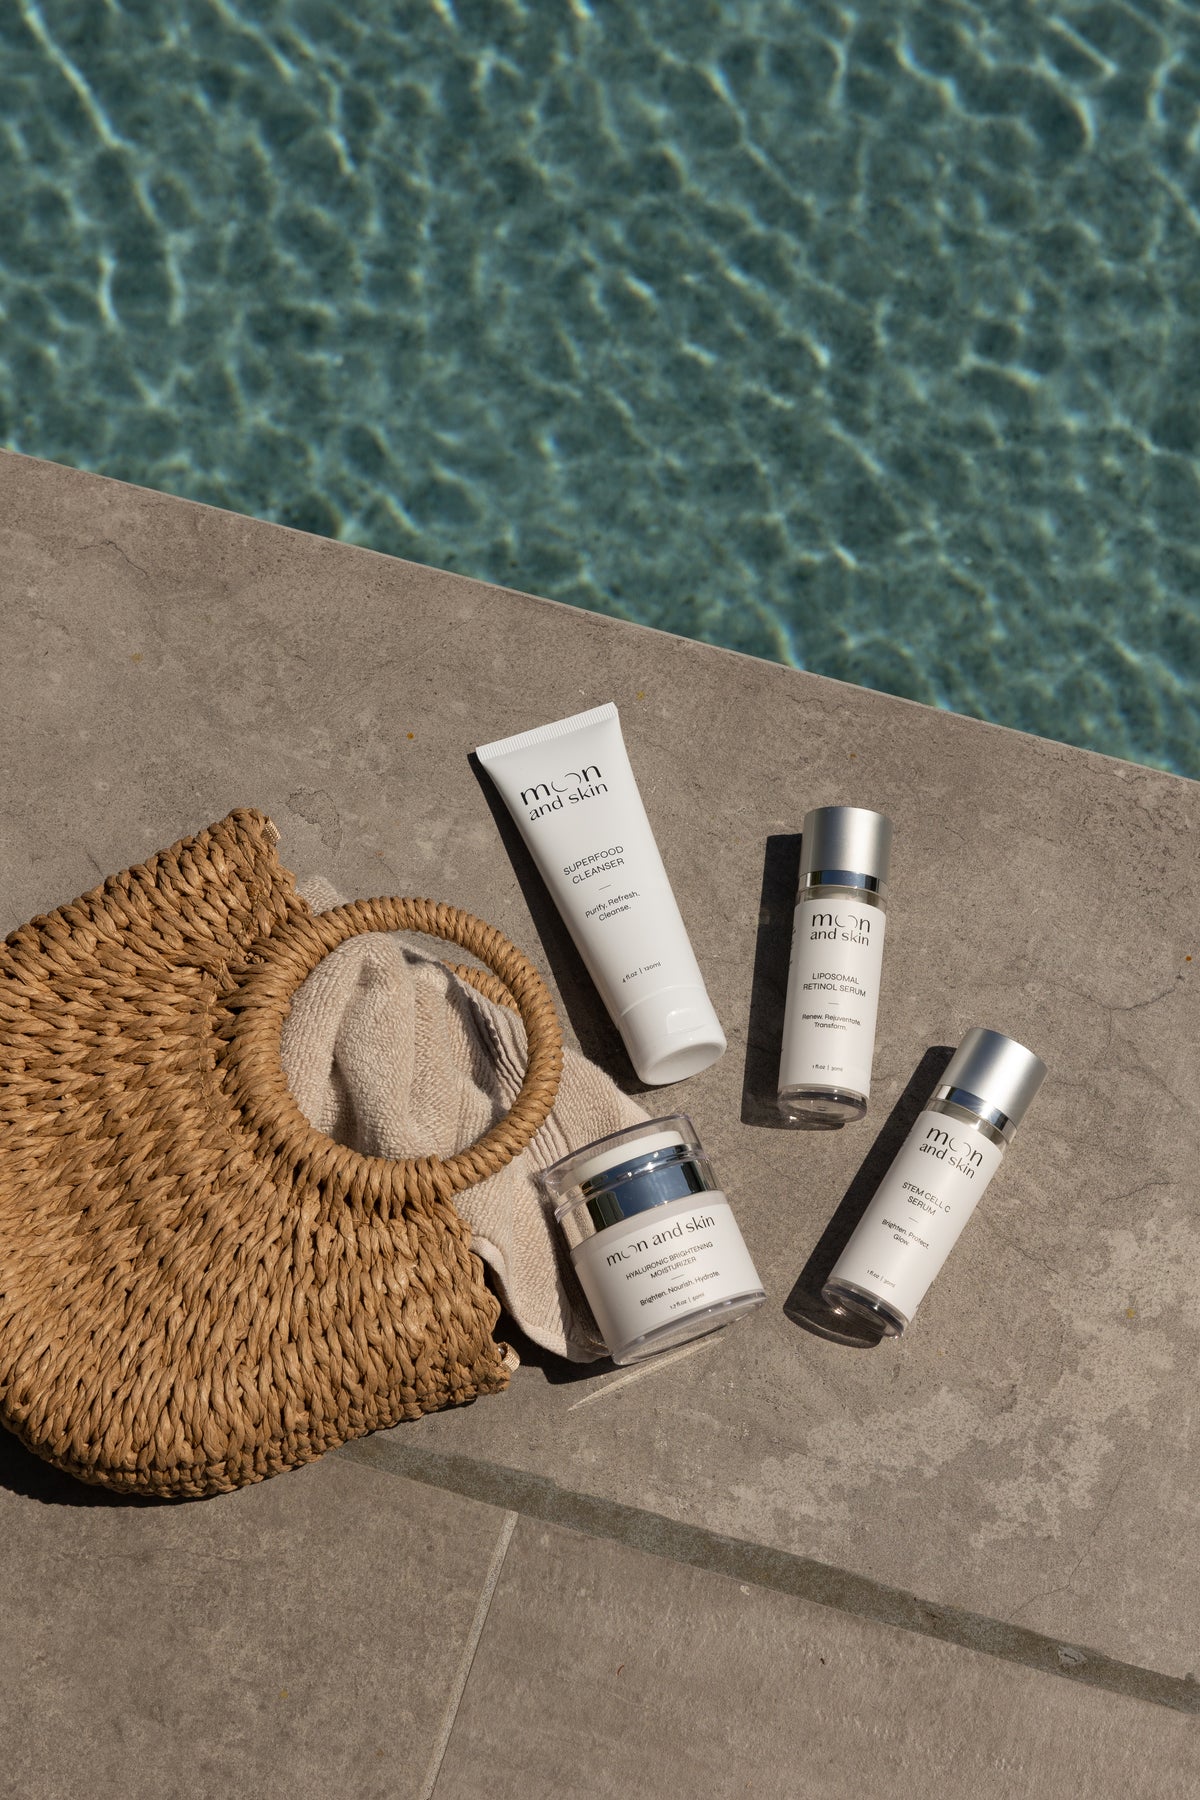
- A high-quality oil cleanser (like our Stem Cell C Serum for added brightness and hydration)
- A clean washcloth or muslin cloth
- Warm water
- Optional: A toner or moisturizer for post-cleansing
Step 2: Apply the Oil
- Start with a Dry Face: Ensure your face is dry before applying the oil. This allows the oil to penetrate effectively without dilution.
- Use the Right Amount: Pour 1 to 2 teaspoons of your chosen oil into your palm. Adjust the amount based on your personal preference and skin type.
- Massage the Oil: Using your fingertips, gently massage the oil into your skin for about 1 to 2 minutes. Focus on areas with makeup or congestion, and don’t forget your neck!
Step 3: Steam Your Face
- Prepare a Warm Washcloth: Soak a clean washcloth in warm water and wring it out.
- Steam: Place the warm cloth over your face for about 30 seconds. This step helps open your pores, allowing the oil to work more effectively.
Step 4: Wipe Away the Oil
- Gently Wipe: Using the damp washcloth, gently wipe away the oil in circular motions. Make sure to be thorough, but avoid scrubbing, as this can irritate the skin.
- Rinse Again if Needed: If any residue remains, you can rinse your face with warm water to ensure all oil is removed.
Step 5: Follow Up
- Toner or Moisturizer: After oil cleansing, consider applying a toner or a moisturizer to lock in hydration. Our Hyaluronic Brightening Moisturizer is a fantastic option to keep your skin hydrated and bright.
Key Takeaways from the Steps
- Oil cleansing is a gentle and effective way to remove impurities and makeup.
- Choose the right oil based on your skin type for optimal results.
- Follow up with a toner or moisturizer to maintain hydration.
How Often Should You Oil Cleanse?
The frequency of oil cleansing can vary based on individual skin needs and preferences. However, we recommend starting with oil cleansing once a day, ideally in the evening to remove makeup and impurities accumulated throughout the day. Some people may choose to do it twice a day, but if you have sensitive or dry skin, you might want to limit it to once a day and listen to your skin's response.
If you’re new to oil cleansing, it may take some time for your skin to adjust, so be patient. You might experience a short period of "purging," where your skin clears out impurities, leading to temporary breakouts. This phase is normal and usually resolves within a couple of weeks. If you notice persistent issues, consider adjusting the oil you’re using or consult a dermatologist.
What to Expect After Oil Cleansing
After incorporating oil cleansing into your routine, you can expect several positive changes in your skin:
- Increased Hydration: Your skin will likely feel more hydrated and less tight after cleansing.
- Balanced Oil Production: Over time, you may notice that your skin produces less excess oil, leading to a more balanced complexion.
- Improved Texture: Many people experience smoother, softer skin as dead skin cells and impurities are gently removed.
- Reduced Breakouts: Regular oil cleansing can lead to fewer breakouts, especially for those with acne-prone skin.
Summary of Expectations
- Oil cleansing can lead to improved hydration, balance, and texture.
- The initial purging phase is normal and temporary.
- Patience and consistency are key to seeing results.
Embracing the K-Beauty Double Cleanse
Oil cleansing is a key component of the K-beauty double cleanse method, which consists of two steps: an oil-based cleanser followed by a water-based cleanser. This technique ensures that your skin is thoroughly cleaned without stripping it of its natural oils.
The Benefits of Double Cleansing
- Complete Removal of Makeup and Impurities: The oil cleanse removes makeup and oil-based impurities, while the second cleanse ensures any remaining residue is washed away.
- Enhanced Absorption of Other Products: With a clean canvas, your skin is better prepared to absorb serums, treatments, and moisturizers.
If you decide to try the double cleanse, we recommend following your oil cleanse with our Superfood Cleanser to nourish your skin while keeping it clean.
Key Takeaways on the Double Cleanse
- Double cleansing provides thorough cleansing and prepares your skin for subsequent products.
- It can be a beneficial addition to your nightly routine for optimal skin health.
Frequently Asked Questions (FAQ)
1. Can I use any oil for cleansing?
While you can technically use any oil, it’s best to use oils that are non-comedogenic and suitable for your skin type. Avoid oils that are likely to clog pores, particularly for acne-prone skin.
2. How do I know if oil cleansing is right for me?
If you have dry, sensitive, or mature skin, oil cleansing may be particularly beneficial. However, if you have severe acne or certain skin conditions, it’s wise to consult a dermatologist before trying this method.
3. Can I oil cleanse if I wear makeup?
Absolutely! Oil cleansing is ideal for removing makeup, as it effectively dissolves makeup and impurities without harsh scrubbing.
4. How will my skin feel after oil cleansing?
After oil cleansing, your skin should feel soft and hydrated without any greasy residue. If you experience excessive oiliness or breakouts, consider adjusting the oil you’re using or how often you cleanse.
5. How often can I oil cleanse?
Most people benefit from oil cleansing once a day, typically in the evening. However, you can adjust the frequency based on your skin's needs and responses.
Conclusion
Incorporating oil cleansing into your skincare routine can be a transformative experience for your skin. By understanding how to oil cleanse, you can nurture your skin while effectively removing impurities and maintaining hydration. Whether you have oily, dry, or sensitive skin, there is an oil that can work wonders for you.
At Moon and Skin, we invite you to explore our Bundle & Save collection, which includes our core products designed to support your skincare journey. Start with our Stem Cell C Serum for a brightening boost, and complete your routine with our Hyaluronic Brightening Moisturizer for hydration.
Together, let’s embark on a journey to celebrate the beauty of our skin in every phase of life. Embrace the nourishing power of oil cleansing and let your skin thrive!