Table of Contents
Introduction
Have you ever thought about the benefits of oil cleansing, especially if you've been struggling with dry or irritated skin? Many people are surprised to learn that applying oil to the face can actually be an effective way to cleanse and nourish the skin. In a world where oil-free products are often seen as the gold standard, oil cleansing might sound counterintuitive, but it can be a game-changer for your skincare routine.
The oil cleansing method has gained traction in recent years, especially among skincare enthusiasts and those looking to simplify their routines. Today, we’ll explore how to properly oil cleanse, the benefits it offers, and how it can seamlessly fit into your skincare regimen. We understand that navigating the world of skincare can be overwhelming, which is why we aim to empower you with knowledge and confidence in your choices.
In this post, we will cover:
- The fundamentals of oil cleansing and how it works
- How to choose the right oil for your skin type
- A step-by-step guide on how to properly oil cleanse
- Common misconceptions and FAQs about oil cleansing
By the end of this article, you’ll be well-equipped to incorporate oil cleansing into your routine and enjoy its myriad benefits.
What is Oil Cleansing?
Oil cleansing is a method that involves using natural oils to remove makeup, dirt, and impurities from the skin. The premise is simple: "like dissolves like." This means that oils can effectively lift away other oils, including the sebum produced by your skin and the makeup you wear. Unlike traditional cleansers that can strip your skin of its natural oils, oil cleansing works to maintain the balance of your skin’s microbiome while providing nourishment.
The benefits of oil cleansing are numerous. For one, it can help to unclog pores and reduce breakouts, making it a suitable option for various skin types, including oily and acne-prone skin. Additionally, oil cleansing can provide hydration, making it an excellent choice for those with dry or sensitive skin.
How Does Oil Cleansing Work?
The effectiveness of oil cleansing lies in its ability to interact with the skin’s natural oils. When you apply oil to your skin, it binds with dirt, makeup, and excess sebum, allowing them to be easily wiped away. Here’s a closer look at the science behind it:
- Oil Composition: Natural oils contain lipids that help to dissolve other oils and impurities. This is particularly beneficial for removing oil-based makeup and sunscreen.
- Nourishing Properties: Many oils are rich in vitamins and antioxidants. For instance, oils like jojoba and rosehip are packed with essential fatty acids that can help to repair and nourish the skin.
- Hydration: Unlike traditional cleansers that can leave your skin feeling tight and dry, oil cleansing helps to keep your skin’s moisture barrier intact, promoting a plump and hydrated complexion.
- Microbiome Support: The skin's microbiome consists of beneficial bacteria that protect against pathogens and support skin health. Oil cleansing does not disrupt this balance, unlike harsh soaps and detergents.
By understanding these principles, you can see why oil cleansing has become a popular choice in skincare routines, especially in K-beauty practices.
Choosing the Right Oil for Your Skin Type
When it comes to oil cleansing, selecting the right oil is crucial for achieving the best results. Different oils cater to different skin types and concerns. Here’s a breakdown of some popular oils and their benefits:
- Jojoba Oil: Similar to the skin’s natural sebum, jojoba oil is non-comedogenic and helps to balance oil production. It’s suitable for all skin types, particularly oily and acne-prone skin.
- Olive Oil: Rich in antioxidants and fatty acids, olive oil provides deep hydration and is excellent for dry or mature skin. Its nourishing properties help to soothe and repair the skin.
- Castor Oil: Known for its antibacterial properties, castor oil can help to cleanse the skin and remove impurities. However, it may be too drying for sensitive skin, so it’s best used in combination with a more moisturizing oil.
- Rosehip Oil: Packed with vitamins A and C, rosehip oil is fantastic for rejuvenating the skin and reducing the appearance of scars and fine lines. It’s ideal for dry or aging skin.
- Argan Oil: Known for its moisturizing properties, argan oil can help to improve skin elasticity and is great for dry or sensitive skin.
Before choosing an oil, consider your skin type and specific concerns. If you have acne-prone skin, for instance, you may want to avoid oils that are overly heavy or comedogenic.
How to Properly Oil Cleanse: A Step-by-Step Guide
Now that you have a better understanding of oil cleansing and how to select the right oil, it’s time to dive into the process. Here’s a detailed step-by-step guide on how to properly oil cleanse:
Step 1: Gather Your Supplies
Before you begin, make sure you have everything you need:
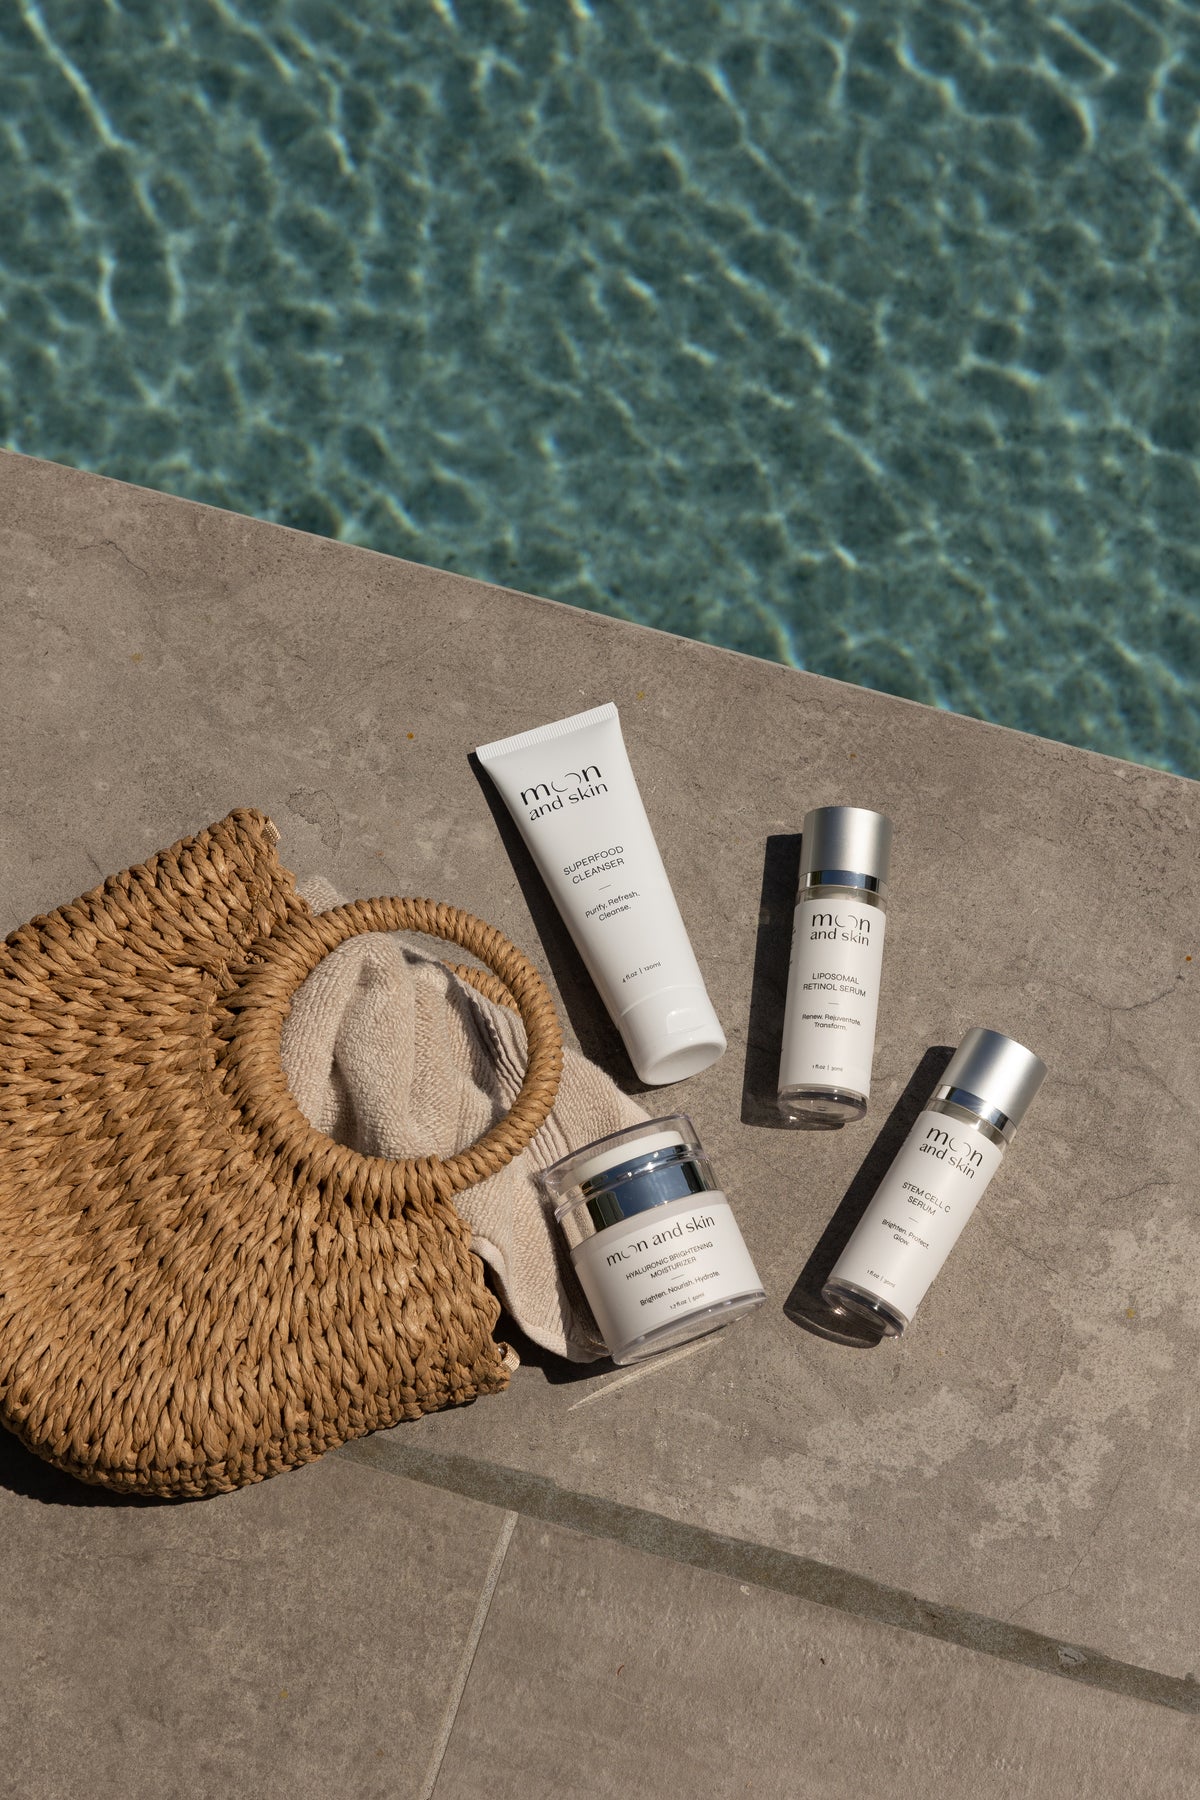
- A high-quality cleansing oil (like our Stem Cell C Serum for brightening and hydrating)
- A soft washcloth or cotton rounds
- A bowl of warm water (optional)
- A towel for drying
Step 2: Apply the Oil
- Start with a dry face. Dispense 1-2 teaspoons of your chosen oil into the palm of your hand.
- Rub your hands together to warm the oil.
- Gently massage the oil onto your dry face using circular motions. Focus on areas where you wear makeup or where your skin tends to be more oily.
Step 3: Massage
Spend about 1-2 minutes massaging the oil into your skin. This is an essential step as it helps to dissolve makeup and impurities. Pay special attention to areas like your forehead, nose, and chin, known as the T-zone, where oil tends to accumulate.
Step 4: Steam (Optional)
For an added spa-like experience, you can use a warm washcloth. Soak it in warm water, wring out the excess, and place it over your face for about 30 seconds. This helps to open up your pores and allows the oil to penetrate deeper.
Step 5: Wipe Away
- Using the warm washcloth, gently wipe away the oil from your face. Be careful not to scrub too hard, as this can irritate the skin.
- If you prefer, you can rinse your face with warm water instead of using a washcloth.
Step 6: Follow Up with a Water-Based Cleanser
For those who are prone to acne or want to ensure their skin is thoroughly cleansed, follow up with a gentle water-based cleanser. This step can help remove any remaining residue and is especially beneficial if you wear makeup.
Step 7: Pat Dry and Moisturize
After cleansing, pat your face dry with a clean towel. Depending on your skin type, you may or may not need to apply a moisturizer. If you do, consider our Hyaluronic Brightening Moisturizer for added hydration.
Summary of Key Takeaways
- Choose the right oil based on your skin type.
- Massage the oil into your skin for 1-2 minutes for effective cleansing.
- Optionally steam your face for enhanced results.
- Follow up with a gentle water-based cleanser if desired.
Common Misconceptions About Oil Cleansing
Despite its benefits, oil cleansing is shrouded in myths. Let’s address some common misconceptions:
Misconception 1: Oil Cleansing Causes Breakouts
Many people fear that using oil will lead to clogged pores and breakouts. However, when done correctly, oil cleansing can actually help to balance the skin and reduce breakouts by removing excess oil and impurities without stripping the skin.
Misconception 2: You Should Only Oil Cleanse if You Have Dry Skin
While oil cleansing is beneficial for dry skin, it can also be advantageous for oily and combination skin. The key is to choose the right oil and follow up with a water-based cleanser if needed.
Misconception 3: All Oils Are Comedogenic
Not all oils are created equal. Some oils, like jojoba and argan, are non-comedogenic and can benefit acne-prone skin. It’s essential to research and select oils that suit your skin type.
Summary of Key Takeaways
- Oil cleansing can help reduce breakouts when done correctly.
- It benefits all skin types, not just dry skin.
- Choose non-comedogenic oils for acne-prone skin.
FAQs About Oil Cleansing
Q: How often should I oil cleanse?
A: It’s generally recommended to oil cleanse once a day, usually in the evening, to remove makeup and impurities accumulated throughout the day. Some people may choose to do it twice a day, but that’s a personal preference.
Q: Can I use any oil for cleansing?
A: While many oils can be used for cleansing, it’s best to choose high-quality, non-comedogenic oils that suit your skin type.
Q: What should I do if I experience irritation?
A: If you experience irritation or breakouts after oil cleansing, consider doing a patch test with your chosen oil or consult with a dermatologist.
Q: Can oil cleansing replace my moisturizer?
A: For some, oil cleansing can provide enough hydration that moisturizer isn’t necessary afterward. However, if you have dry skin or prefer added moisture, using a moisturizer is recommended.
Q: Does oil cleansing work for sensitive skin?
A: Yes, oil cleansing can be gentle on sensitive skin, especially if you choose soothing oils like jojoba or rosehip. Always do a patch test first.
Conclusion
Oil cleansing is a transformative practice that can help you achieve healthier, more radiant skin. By understanding the principles behind this method, choosing the right oil for your skin type, and following a simple step-by-step process, you can enjoy the benefits of this nourishing cleansing technique.
Remember, the journey to radiant skin doesn't have to be complicated. With our Bundle & Save collection, you can build a complete skincare routine that complements your oil cleansing practice.
Together, let's embrace the beauty of oil cleansing and enjoy the glowing results it brings to our skin. If you're ready to take the next step, explore our Best Sellers collection for products that enhance your skincare journey!