Table of Contents
Introduction
Imagine stepping out of the shower with skin that feels as soft as silk and radiates with a healthy glow. This dream can become a reality with the simple addition of a salt scrub to your skincare routine. Salt scrubs are not just for the body; they can be wonderfully beneficial for the face as well, helping to exfoliate, detoxify, and rejuvenate your skin.
We understand that the world of skincare can be overwhelming, especially when it comes to choosing the right products and techniques for your unique needs. That’s why we’re excited to share our insights on how to make a salt scrub for your face. This guide will explore the benefits of salt scrubs, the types of salts to use, and an easy DIY recipe to help you create your own rejuvenating scrub at home.
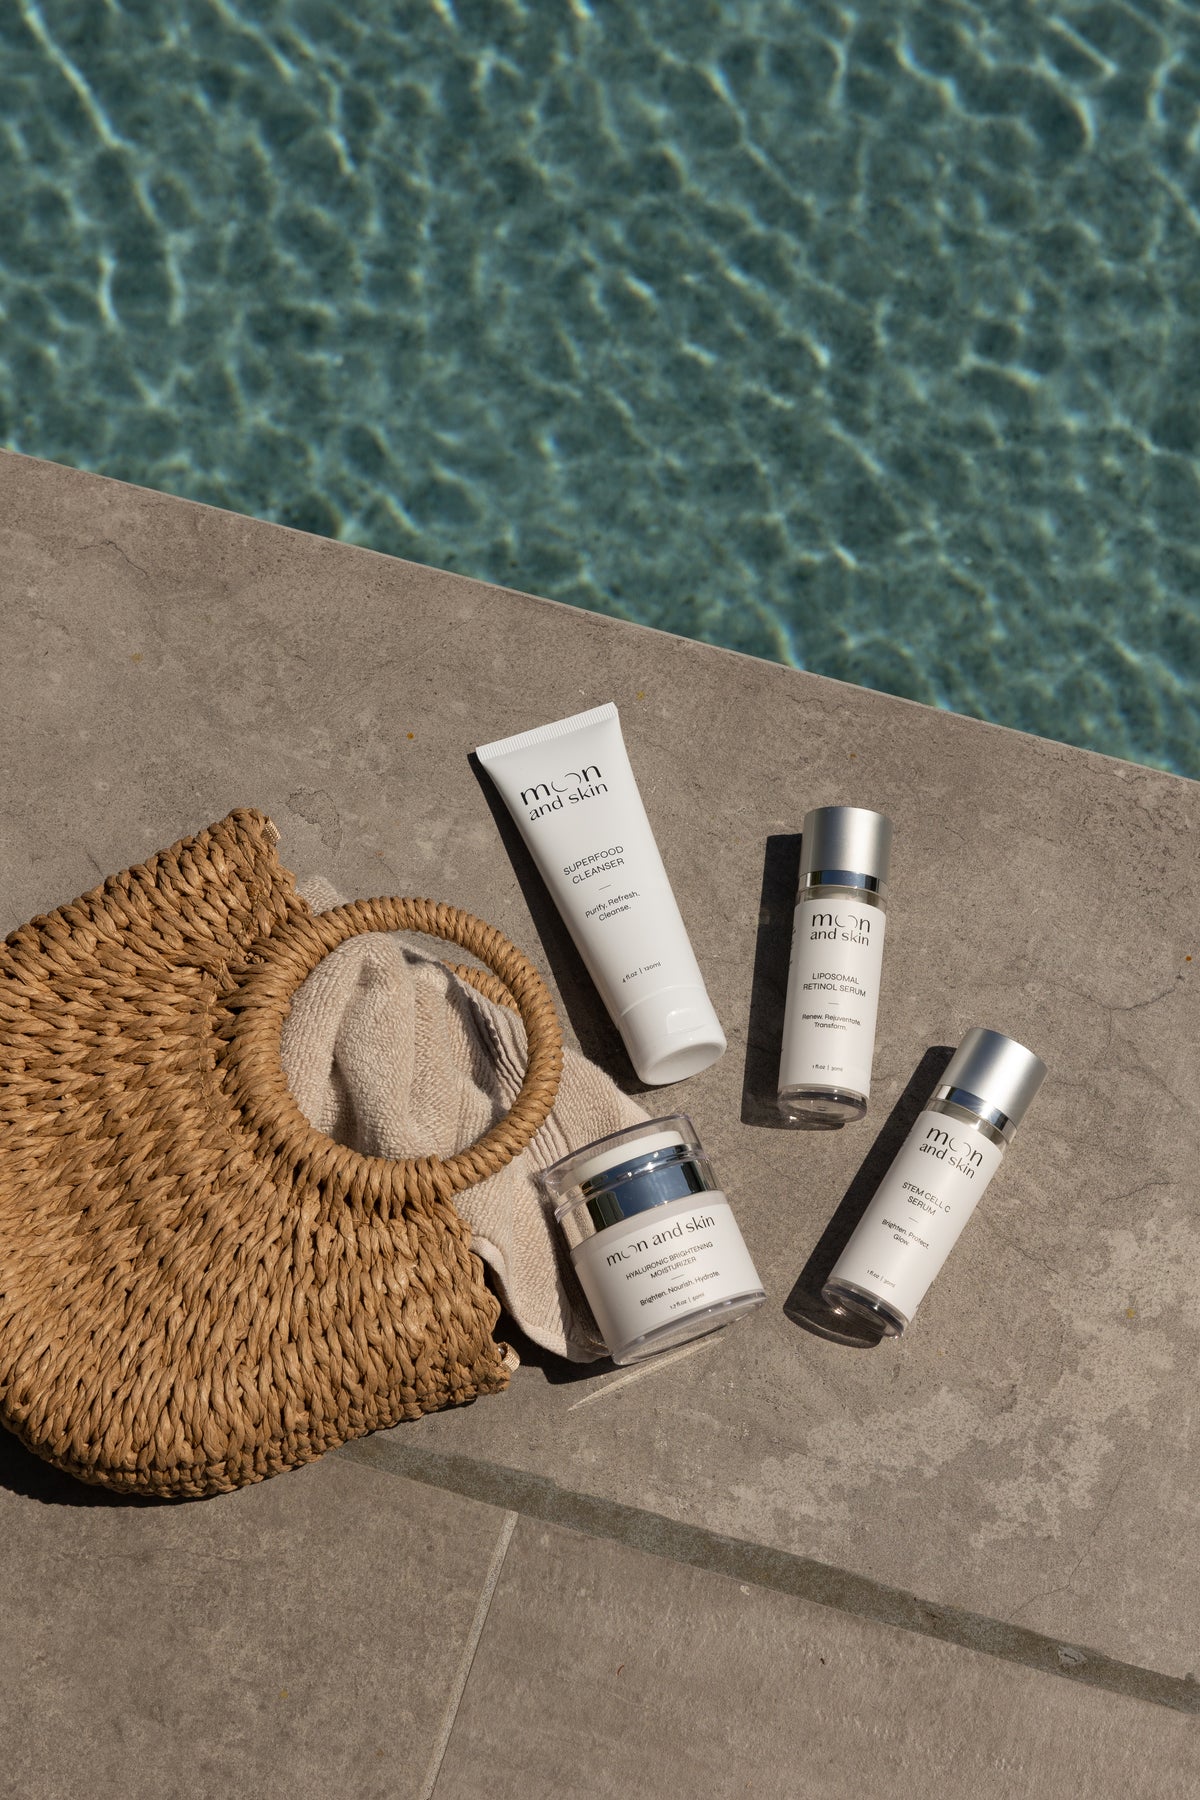
Not only are salt scrubs effective, but they also align beautifully with our mission at Moon and Skin: to provide clean, thoughtful skincare for every phase of life. By using natural ingredients, we can nurture our skin while being mindful of what we apply. So, let’s dive into the world of salt scrubs and discover how they can enhance your skincare routine!
The Benefits of a Salt Scrub
Salt scrubs offer a multitude of benefits for your skin, especially when it comes to exfoliation. Here are some of the key advantages:
1. Exfoliation
Exfoliating with a salt scrub removes dead skin cells, revealing a fresher layer underneath. This process not only helps to improve skin texture but also promotes cell turnover, leading to a more radiant complexion.
2. Detoxification
Salt scrubs can stimulate the lymphatic system, aiding in the body’s natural detoxification processes. This can help eliminate toxins and reduce puffiness, giving your face a refreshed look.
3. Improved Absorption of Products
By exfoliating the skin, you create a smoother canvas for your other skincare products. This means your serums and moisturizers will penetrate more deeply and work more effectively.
4. Natural Antimicrobial Properties
Salt has natural antimicrobial properties, making it an excellent choice for those with acne-prone skin. It can help to reduce bacteria on the skin's surface, minimizing breakouts.
5. Mineral Benefits
Many salts, such as Dead Sea salt, are rich in essential minerals like magnesium and calcium. These minerals can nourish the skin and provide additional benefits, such as hydration and improved elasticity.
6. Relaxation and Self-Care
Incorporating a salt scrub into your skincare routine can create a moment of indulgence and relaxation. The act of massaging the scrub onto your skin can enhance circulation while promoting a sense of well-being.
Summary
Using a salt scrub for your face can lead to smoother, brighter skin while supporting your overall skincare goals. It’s a simple yet effective way to enhance your routine and celebrate your unique skin journey.
Why Use a Salt Scrub vs. Sugar Scrub?
While both salt and sugar scrubs serve the purpose of exfoliation, they have distinct properties that make them suitable for different skin types and needs.
Salt Scrubs:
- Texture: Typically more abrasive, making them suitable for tougher skin areas.
- Detoxifying: Salt scrubs can enhance detoxification through lymphatic stimulation.
- Antimicrobial Properties: They can help reduce bacteria on the skin, making them beneficial for acne-prone skin.
- Mineral Content: Rich in minerals that can nourish the skin.
Sugar Scrubs:
- Gentler Exfoliation: Sugar is softer and less abrasive, making it ideal for sensitive skin.
- Humectant Properties: Sugar draws moisture into the skin, helping to keep it hydrated.
- Natural Glycolic Acid: Sugar contains glycolic acid, which can help brighten the skin.
Summary
Choosing between a salt scrub and a sugar scrub depends on your skin type and the results you desire. If you have sensitive skin, a sugar scrub may be the better option, while salt scrubs can be more effective for deeper exfoliation and detoxification.
Types of Salt to Use
Not all salts are created equal when it comes to skincare. Here are some of the best types of salt to consider for your facial scrub:
1. Dead Sea Salt
Renowned for its high mineral content, Dead Sea salt is packed with magnesium, calcium, and potassium. These minerals can help in hydration and improving skin elasticity, making it a fantastic choice for a nourishing salt scrub.
2. Himalayan Salt
This pink-hued salt is rich in trace minerals and has natural detoxifying properties. It’s known for its ability to balance skin pH and reduce inflammation.
3. Sea Salt
Coarse and fine sea salts can both be effective, but it’s essential to use finely ground sea salt for facial scrubs to avoid irritation. Sea salt contains natural minerals that can help cleanse and rejuvenate the skin.
4. Epsom Salt
Although primarily known for its muscle-soothing properties, Epsom salt can also provide gentle exfoliation. It’s excellent for those who enjoy a more robust scrub.
Summary
Choosing the right salt for your scrub can enhance its effectiveness and ensure you receive the benefits that align with your skincare goals.
Basic Salt Scrub Recipe
Creating your own salt scrub is easy and rewarding. Here’s a simple recipe to get you started:
Ingredients:
- 1 cup of salt (choose from Dead Sea salt, Himalayan salt, or fine sea salt)
- 1/4 cup of carrier oil (jojoba, sweet almond, or olive oil work well)
- 10-20 drops of essential oil (optional, for fragrance and additional skin benefits)
- 1 tbsp of vitamin E oil (optional, for added nourishment)
Instructions:
- In a mixing bowl, combine the salt and carrier oil. Stir until well mixed.
- Add in your chosen essential oils and vitamin E oil, if using. Mix thoroughly to combine all ingredients.
- Transfer the mixture into a sealed glass jar for storage.
Usage:
- Scoop a small amount of the scrub and apply it to damp skin in circular motions.
- Gently massage the scrub for about 1-2 minutes, focusing on any areas that need extra attention.
- Rinse thoroughly with warm water and pat dry.
- Use 1-2 times a week for best results.
Summary
This basic salt scrub recipe is customizable, allowing you to tweak the ingredients according to your preferences. The combination of salt and nourishing oils will leave your skin feeling refreshed and rejuvenated.
How to Use a Salt Scrub
Using a salt scrub is straightforward, but there are a few tips to ensure you get the most out of your exfoliation:
- Prep Your Skin: Always start with damp skin, as this will help soften the scrub and make application easier.
- Gentle Application: Use a small amount of scrub and apply it in circular motions. Be gentle, especially on sensitive areas, to avoid irritation.
- Rinse Thoroughly: After massaging the scrub, rinse off completely with warm water. Make sure to remove all residue from the skin.
- Follow Up with Moisturizer: After exfoliating, apply a moisturizer to lock in hydration and keep your skin feeling soft and supple.
Summary
Incorporating a salt scrub into your skincare routine can elevate your self-care ritual while providing essential exfoliation.
How Long Does a Homemade Salt Scrub Last?
When stored properly, your homemade salt scrub can last up to six months. To maintain its freshness, keep it in a cool, dry place and use a clean spoon to scoop out the product, avoiding moisture contamination.
Summary
Proper storage is key to extending the shelf life of your salt scrub, ensuring you can enjoy its benefits for many uses.
Conclusion
Incorporating a salt scrub into your skincare routine can unlock a world of benefits, from exfoliation to detoxification. We hope this guide on how to make a salt scrub for your face empowers you to take control of your skincare journey. By choosing quality ingredients and following our simple recipe, you can create a luxurious scrub that celebrates your skin’s unique needs.
At Moon and Skin, we believe in the power of thoughtful skincare. Together, let’s embrace our skin’s journey through all its phases. If you're looking to build a complete skincare routine, don’t forget to check out our Bundle & Save collection to experience the full range of our clean, thoughtful products.
FAQ
1. Can I use a salt scrub daily? While salt scrubs are beneficial, it’s best to use them 1-2 times a week to avoid over-exfoliation and irritation.
2. Is it safe to use a salt scrub on my face? Yes, but make sure to use a finely ground salt and be gentle during application, especially if you have sensitive skin.
3. Can I customize my salt scrub? Absolutely! You can adjust the type of salt, carrier oil, and essential oils to suit your preferences and skin needs.
4. What if the scrub feels too abrasive? If the scrub feels too rough, you can dilute it with more carrier oil or opt for a sugar scrub, which is gentler.
5. How do I store my homemade salt scrub? Store your scrub in a sealed glass jar in a cool, dry place. Use a clean spoon to scoop it out to maintain freshness.
By taking a few minutes to create a salt scrub, you can enhance your skincare ritual and enjoy the many benefits it brings to your skin. We encourage you to give it a try and share your experience with us at Moon and Skin!