Table of Contents
Introduction
Have you ever stepped out of a spa feeling rejuvenated and silky smooth, only to wonder how you can recreate that experience at home? The secret often lies in the power of exfoliation, particularly through the use of a salt scrub. Recent studies showcase how regular exfoliation can lead to healthier skin, helping to remove dead skin cells and promote new cell growth. In a world where self-care is more essential than ever, learning how to make a salt scrub for your body is not just a fun DIY project; it’s a step towards embracing your skin's natural beauty.
At Moon and Skin, we understand that the journey to radiant skin is personal and ever-evolving, much like the phases of the moon. Our goal is to empower you to care for your skin thoughtfully and effectively, using clean and natural ingredients. In this post, we will guide you through the benefits of salt scrubs, the types of salts you can use, and a simple recipe for creating your own at home. Let’s embark on this journey together to elevate your skincare routine!
The Benefits of a Salt Scrub
Salt scrubs offer a multitude of benefits that make them an excellent addition to your skincare regimen. Here are some key advantages:
- Exfoliation: Salt scrubs are excellent for sloughing off dead skin cells. This not only reveals the fresh, healthy skin underneath but also prevents clogged pores, which can lead to breakouts.
- Detoxification: The natural minerals in salt can help stimulate the lymphatic system, aiding in the body’s detoxification processes. This can help eliminate stagnant toxins, promoting overall skin health.
- Improved Circulation: The massaging action of applying a salt scrub can enhance blood circulation, which contributes to a more vibrant and youthful appearance.
- Hydration: When combined with a carrier oil, salt scrubs can leave your skin feeling moisturized and soft. The oil helps to seal in moisture after exfoliation, enhancing the skin's overall hydration.
- Relaxation: The ritual of using a salt scrub can be a therapeutic experience, promoting relaxation and self-care. The soothing scents of essential oils added to the scrub can further enhance this calming effect.
- Customizable: You can easily tailor your salt scrub to meet your specific skin needs by choosing different salts, oils, and essential oil blends.
Why Use a Salt Scrub vs. Sugar Scrub?
When it comes to exfoliation, both salt and sugar scrubs have their merits. However, choosing between them depends on your skin type and the desired level of exfoliation.
Salt Scrub Advantages
- More Abrasive: Salt scrubs are typically more abrasive than sugar scrubs, making them ideal for rougher patches of skin, such as elbows, knees, and feet.
- Mineral-Rich: Salt contains beneficial minerals like magnesium, calcium, and potassium, which can be absorbed by the skin, offering additional health benefits.
- Detox Benefits: The detoxification properties of salt help to draw out impurities from the skin.
Sugar Scrub Advantages
- Gentler on Skin: Sugar scrubs are generally less abrasive and can be more suitable for sensitive skin types.
- Natural Humectant: Sugar acts as a natural humectant, drawing moisture into the skin, which is beneficial for dry skin.
Ultimately, the choice comes down to personal preference and skin needs. If you’re looking for a more intense exfoliation, a salt scrub is the way to go. For sensitive skin, consider a sugar scrub.
Types of Salt to Use
Not all salts are created equal, and the type you choose can greatly influence the effectiveness of your scrub. Here are some popular options:
1. Dead Sea Salt
Hailing from the mineral-rich waters of the Dead Sea, this salt is known for its high concentration of minerals, including magnesium, potassium, and calcium. It is excellent for skin rejuvenation and is often used in spa treatments.
2. Himalayan Sea Salt
This beautiful pink salt is rich in over 80 trace minerals, making it a fantastic choice for both exfoliation and nourishment. Its unique minerals can help to balance the skin's pH levels.
3. Epsom Salt
Although not technically a salt (it’s magnesium sulfate), Epsom salt is famous for its soothing properties. It’s particularly beneficial for sore muscles and can be included in your scrub for added relaxation.
4. Sea Salt
Regular sea salt is a great option for scrubs due to its natural exfoliating properties. It contains minerals like calcium and magnesium, which can benefit the skin.
5. Black Lava Sea Salt
This exotic salt is infused with activated charcoal, providing detoxifying benefits. It can be particularly effective for those with oily or acne-prone skin.
When choosing your salt, try to avoid regular table salt as it lacks the therapeutic benefits found in these natural alternatives. Opt for finely ground salts for a gentler exfoliation experience.
Basic Salt Scrub Recipe
Creating your own salt scrub at home is not only easy but also allows you to customize it to your liking. Here’s a simple recipe to get you started:
Ingredients
- 1 cup of salt: Choose from Dead Sea salt, Himalayan salt, or any of the options mentioned above.
- 1/4 cup of carrier oil: Jojoba oil, sweet almond oil, or coconut oil work well.
- 10-20 drops of essential oil: Choose your favorite scent (e.g., lavender for relaxation, eucalyptus for a spa-like experience).
- Optional add-ins: You can enhance your scrub with optional ingredients like coffee grounds for extra exfoliation, or vitamin E oil for added nourishment.
Instructions
- Mix the Ingredients: In a large bowl, combine the salt and carrier oil. Stir well until fully combined.
- Add Essential Oils: Incorporate your chosen essential oils, adjusting the amount to achieve your desired fragrance.
- Store the Scrub: Transfer your scrub into a clean, airtight jar (like a mason jar) for easy access.
- Use the Scrub: In the shower, scoop out a small amount of the scrub and apply it to damp skin. Gently massage in circular motions before rinsing thoroughly.
- Enjoy: Revel in your newly exfoliated, hydrated skin!
How to Use a Salt Scrub
To maximize the benefits of your salt scrub, consider these tips for effective use:
- Frequency: Use your salt scrub 1-3 times a week, depending on your skin type. If you have sensitive skin, start with once a week.
- Application: Apply the scrub on damp skin, as this will help prevent irritation. Use gentle circular motions to avoid over-exfoliating.
- Rinse: Make sure to rinse thoroughly with warm water to remove all salt and oil. Pat your skin dry gently afterward.
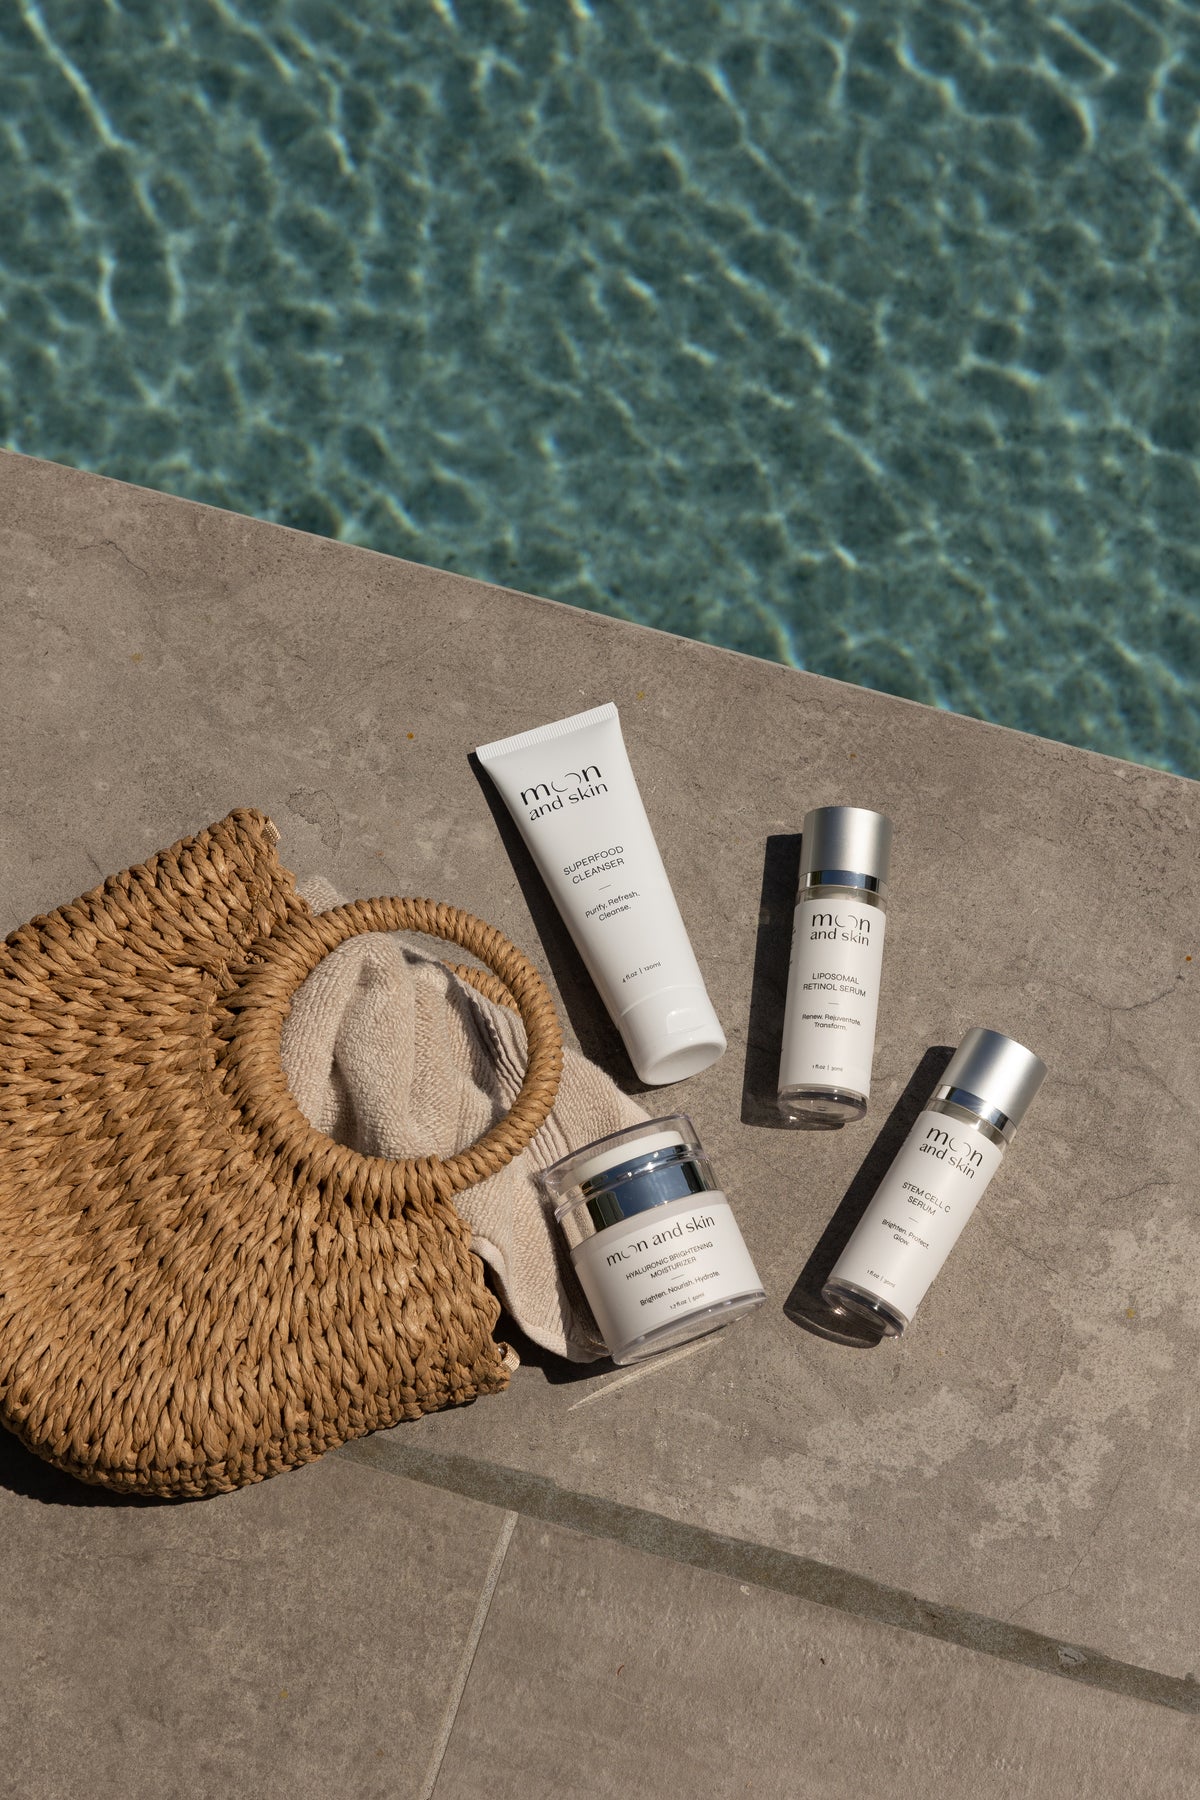
- Moisturize: Follow up with a good moisturizer to lock in hydration. We recommend our Hyaluronic Brightening Moisturizer for its hydrating benefits.
How Long Does a Homemade Salt Scrub Last?
When stored correctly in a cool, dry place, a homemade salt scrub can last up to six months. However, due to the small batch nature of most DIY scrubs, they may be used up much more quickly. Always ensure that the container is sealed tightly to prevent moisture from affecting the scrub's texture and effectiveness.
Conclusion
Making your own salt scrub is a rewarding way to enhance your self-care routine while promoting healthy, glowing skin. With the right ingredients and a little creativity, you can tailor your scrub to meet your unique skincare needs. Remember, skincare is a journey, and at Moon and Skin, we’re here to support you through every phase of it.
If you're ready to take your skincare routine to the next level, consider exploring our Bundle & Save options, which allow you to build a comprehensive regimen that caters to your skin's specific needs. And for those new to our products, check out our Try Before You Buy collection!
FAQ
Can I use a salt scrub on my face?
While salt scrubs are effective for body exfoliation, we recommend using gentler exfoliants on the face. If you choose to use a salt scrub on your face, make sure to use a finely ground salt and minimal pressure.
How often should I use a salt scrub?
For most skin types, using a salt scrub 1-3 times a week is ideal. If you have sensitive skin, start with once a week and adjust based on how your skin responds.
Can I customize my salt scrub recipe?
Absolutely! Feel free to experiment with different salts, carrier oils, and essential oils to create a scrub that meets your preferences and skin needs.
What should I do if my scrub separates?
It’s common for the oil to separate from the salt. Just give it a good stir before using to remix the ingredients.
Are there any skin types that should avoid salt scrubs?
If you have very sensitive skin, open wounds, or severe skin conditions, it’s best to consult with a dermatologist before using any type of scrub.