Table of Contents
Introduction
Have you ever stepped out of a spa feeling like a completely new person? That incredible, soft, and rejuvenated feeling often comes from a simple yet effective treatment: a salt scrub. While many of us might indulge in these luxurious experiences, we might not realize that we can recreate this spa-like treatment at home with just a few ingredients. In this post, we’re excited to share our insights on how to make salt scrub, discuss its benefits, and guide you through the process of crafting your own personalized scrub.
Salt scrubs not only exfoliate dead skin cells but also provide numerous benefits that contribute to overall skin health. In a world where our skin is constantly exposed to environmental stressors and pollutants, taking the time to pamper ourselves with a salt scrub becomes not just a luxury, but a necessity. This blog aims to empower you with the knowledge to create your own salt scrub and integrate it into your skincare routine effectively.
Together, we'll explore the various types of salts, the essential ingredients needed, and the step-by-step process to craft your perfect salt scrub. By the end of this post, we hope you feel inspired to treat your skin to the care it deserves!
The Benefits of a Salt Scrub
Salt scrubs offer more than just a pleasant fragrance and a satisfying texture; they provide a myriad of benefits that can enhance the appearance and health of your skin. Here are some of the key advantages of incorporating salt scrubs into your body care routine:
1. Exfoliation
One of the primary benefits of a salt scrub is exfoliation. Salt granules help to slough away dead skin cells, revealing the smoother, softer skin underneath. This process can improve skin texture and promote a healthier, more radiant appearance.
2. Detoxification
Salt scrubs can stimulate the lymphatic system, encouraging detoxification. By promoting circulation, they help to eliminate stagnant toxins from the body, which can result in clearer, healthier skin.
3. Mineral Absorption
Sea salt is rich in essential minerals such as magnesium, calcium, and potassium. When applied to the skin, these minerals can be absorbed, contributing to hydration and overall skin health.
4. Stress Relief
The act of massaging a salt scrub into your skin can be incredibly relaxing. The combination of the gentle exfoliation and aromatic essential oils can help alleviate stress and promote a sense of well-being.
5. Improved Product Absorption
Exfoliating the skin with a salt scrub can enhance the effectiveness of your skincare products. By removing dead skin cells, your skin can better absorb moisturizers, serums, and treatments, allowing for deeper penetration and improved results.
Key Takeaways
- Salt scrubs offer exfoliation, detoxification, and mineral absorption.
- They can relieve stress and enhance the efficacy of skincare products.
Why Use a Salt Scrub vs. Sugar Scrub?
When it comes to exfoliating scrubs, you might be wondering why you should choose a salt scrub over a sugar scrub. Both types of scrubs have their unique benefits, but there are some distinctions that may influence your decision.
1. Exfoliation Strength
Salt scrubs tend to be more abrasive than sugar scrubs, making them ideal for tougher areas of the body, such as elbows, knees, and feet. If you're looking for a more intense exfoliation, salt is the way to go.
2. Mineral Content
As mentioned earlier, salt scrubs offer a natural source of minerals that can benefit the skin. Sugar, while gentle, does not provide the same mineral benefits that salt does.
3. Skin Sensitivity
If you have sensitive skin, you may want to opt for a sugar scrub instead. Sugar granules are typically softer and less abrasive, making them a better choice for delicate skin.
Key Takeaways
- Salt scrubs provide stronger exfoliation and mineral benefits.
- Sugar scrubs are gentler and better suited for sensitive skin.
Types of Salt to Use
When making your salt scrub, the type of salt you choose can significantly impact the texture and benefits of the final product. Here are some popular options to consider:
1. Sea Salt
Sea salt is a popular choice for salt scrubs due to its high mineral content. It’s effective in exfoliating the skin while providing essential nutrients.
2. Dead Sea Salt
Rich in minerals like magnesium and potassium, Dead Sea salt is renowned for its therapeutic properties. It can help soothe inflammation and improve skin conditions.
3. Himalayan Pink Salt
This salt is not only visually appealing with its pink hue but is also packed with minerals. It’s believed to promote detoxification and balance skin pH levels.
4. Epsom Salt
While technically not a salt, Epsom salt is made of magnesium sulfate and is famous for its muscle-soothing benefits. It’s excellent for use in scrubs aimed at relaxing sore muscles.
5. Black Lava Salt
This striking black salt contains activated charcoal, which can aid in detoxification and draw impurities from the skin. It’s often used in high-end spa treatments.
Key Takeaways
- Choose salts based on their mineral content and intended benefits.
- Different salts can provide unique textures and properties to your scrub.
Basic Salt Scrub Recipe
Now that you’re familiar with the benefits and types of salt, let’s get into the fun part: making your own salt scrub! Here’s a simple recipe to get you started.
Ingredients
- 1 cup of sea salt (choose your preferred type)
- 1/4 cup of carrier oil (jojoba oil, almond oil, or olive oil work well)
- 10-20 drops of essential oil (eucalyptus, lavender, or citrus)
- Optional add-ins (vitamin E oil, coffee grounds, or dried herbs)
Instructions
- Mix the Salt and Oil: In a large mixing bowl, combine the sea salt and carrier oil. Stir until well mixed. The consistency should be moist but not overly runny.
- Add Essential Oils: Incorporate your chosen essential oils into the mixture, adjusting according to your preference for scent strength.
- Customize: If desired, add optional ingredients like vitamin E oil for added nourishment or coffee grounds for extra exfoliation.
- Store: Transfer your scrub into a sealed glass jar, like a mason jar, and store in a cool, dry place.
- Use: To use, scoop an appropriate amount of scrub and massage it onto clean, damp skin in circular motions. Rinse thoroughly with warm water.
Key Takeaways
- This basic recipe is customizable to your preferences.
- Store your scrub in a sealed container for freshness.
How to Use a Salt Scrub
Using a salt scrub is simple, but there are a few tips to ensure you get the best results:
- Preparation: Start by wetting your skin in the shower or bath to soften it. This will help the scrub glide smoothly over your skin.
- Application: Scoop a small amount of the scrub and gently massage it onto your skin in circular motions. Focus on rough areas like elbows, knees, and feet.
- Rinse: After scrubbing, rinse your skin thoroughly with warm water to remove all scrub residue.
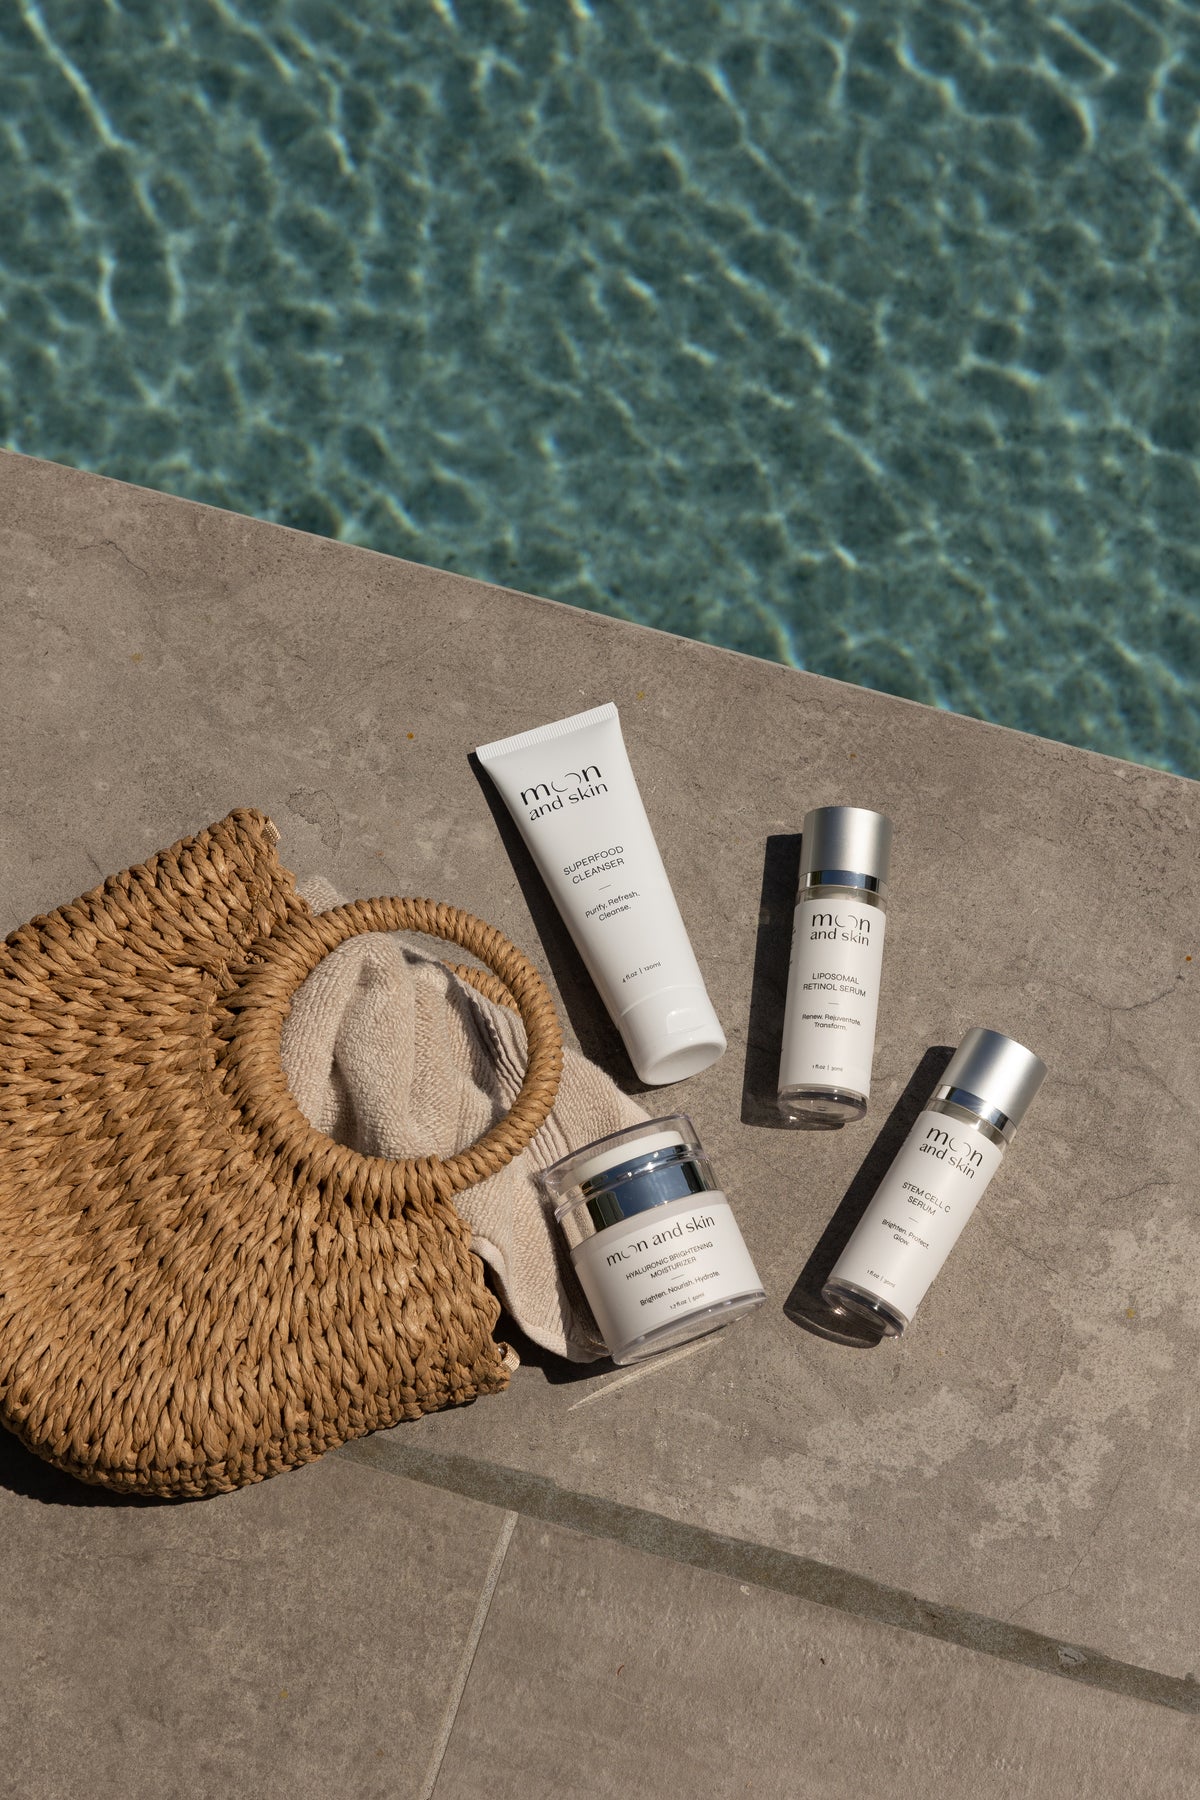
- Moisturize: After exfoliating, apply a moisturizer to lock in hydration. We recommend our Hyaluronic Brightening Moisturizer for an extra boost of hydration.
Key Takeaways
- Wet your skin before applying the scrub for best results.
- Always follow up with a moisturizer to keep your skin hydrated.
How Long Does a Homemade Salt Scrub Last?
When stored properly, a homemade salt scrub can last for several months. Here are some tips to maximize its shelf life:
- Storage: Keep your scrub in a sealed glass jar in a cool, dry location away from direct sunlight.
- Separation: If your scrub separates, simply stir it before each use to recombine the oil and salt.
- Shelf Life: Generally, your scrub can last up to six months, but it’s best to make smaller batches that can be used within a month or two for optimal freshness.
Key Takeaways
- Store your scrub properly to extend its shelf life.
- Use within six months for best results.
Conclusion
Creating your own salt scrub is not only a rewarding experience but also a fantastic way to take care of your skin. By understanding the benefits, the types of salts available, and how to make and use your scrub, you can easily incorporate this pampering treatment into your self-care routine.
We encourage you to try our salt scrub recipe and customize it to suit your needs. For a complete skincare experience, consider pairing your scrub with our Bundle & Save collection, which features our best-selling products designed to nourish your skin at every stage of life.
Let’s celebrate the beauty of our skin together, one scrub at a time!
FAQ
How often should I use a salt scrub?
For most people, using a salt scrub 2-3 times a week is ideal. If you have sensitive skin, consider limiting it to once a week.
Can I use a salt scrub on my face?
We recommend avoiding salt scrubs on the face, as they can be too abrasive. Instead, consider using a gentler sugar scrub or a product designed for facial exfoliation.
What type of salt is best for scrubs?
Sea salt, Dead Sea salt, and Himalayan pink salt are excellent choices due to their mineral content and exfoliating properties.
How should I store my homemade salt scrub?
Store your scrub in a sealed glass jar in a cool, dry place. It can last for up to six months if stored properly.
Can I customize my salt scrub?
Absolutely! Feel free to add essential oils, vitamin E, or other nourishing ingredients to tailor the scrub to your liking.
Let us know how your homemade salt scrub turns out, and enjoy the journey to beautiful, glowing skin!