Table of Contents
Introduction
Have you ever looked at your skin and wished for a little extra glow? Perhaps you've experienced the frustration of dry, flaky patches that seem to appear out of nowhere. You're not alone! According to the American Academy of Dermatology, skin dryness affects a significant portion of the population, especially during colder months. Luckily, there’s a simple, effective solution that you can whip up in your own kitchen: a DIY sugar scrub.
At Moon and Skin, we understand that nurturing your skin is a personal journey that evolves over time—much like the phases of the moon. Our mission is to empower you with clean, thoughtful skincare solutions for every phase of life. In this post, we’ll explore the ins and outs of sugar scrubs, why they’re beneficial for your skin, and how you can easily create your own at home. Get ready to indulge your skin in a delectable treatment that exfoliates, hydrates, and rejuvenates!
What is a Sugar Scrub?
A sugar scrub is a simple yet effective blend of sugar and oil that serves as an exfoliating and moisturizing treatment. When applied to the skin, the sugar granules work to slough off dead skin cells, promoting a smoother, brighter complexion. Meanwhile, the oils nourish and hydrate the skin, leaving it feeling soft and supple.
Sugar Scrub vs. Salt Scrub
While both sugar and salt scrubs offer exfoliating benefits, they differ in texture and suitability for various skin types. Sugar scrubs are generally gentler and more suitable for sensitive skin, thanks to the smaller granules. On the other hand, salt scrubs can provide a more intense exfoliation, which may be ideal for rough areas like the feet.
Benefits of Using Sugar Scrubs
- Exfoliation: Regular exfoliation helps remove dead skin cells, revealing a brighter and healthier layer underneath.
- Hydration: The oils in sugar scrubs prevent moisture loss, keeping your skin hydrated and plump.
- Improved Circulation: The act of scrubbing stimulates blood flow, contributing to a healthy glow.
- DIY Customization: You can easily customize your scrub with various oils and scents to suit your preferences.
Ingredients in a Basic Sugar Scrub
Creating your own sugar scrub is incredibly easy and requires just a few basic ingredients:
- Sugar: You can use white granulated sugar, brown sugar, or even coconut sugar. Each type has its unique benefits; for example, brown sugar is softer and less abrasive.
- Oil: Coconut oil is a popular choice due to its moisturizing properties and pleasant scent. However, you can also use olive oil, jojoba oil, or almond oil, depending on your skin's needs.
- Optional Add-Ins: Consider adding essential oils for fragrance and additional benefits, such as lavender for relaxation or lemon for an invigorating scent.
Recommended Ingredients for Your DIY Sugar Scrub
- 1 cup sugar (white or brown)
- 1/2 cup carrier oil (coconut oil is our favorite!)
- 10-15 drops of essential oil (optional)
How to Make Your Own DIY Sugar Scrub
Making your own sugar scrub can be done in just a few simple steps. Here’s a basic recipe to get you started:
Step-by-Step Instructions
- Gather Your Ingredients: Make sure you have all the necessary ingredients on hand.
- Mix the Ingredients: In a bowl, combine the sugar and oil. Adjust the consistency by adding more sugar for a coarser scrub or more oil for a creamier texture.
- Add Essential Oils: If desired, add your chosen essential oils and mix until well combined.
- Store: Transfer your scrub into an airtight container to maintain its freshness. We recommend using glass jars for a stylish, eco-friendly option.
- Use: When you’re ready to pamper yourself, scoop a small amount of the scrub and gently massage it onto your skin in circular motions. Allow it to sit for a few minutes to maximize the benefits, then rinse off with warm water.
Tips for Optimal Use
- Frequency: Use your sugar scrub 1-2 times a week to keep your skin smooth and hydrated.
- Avoid Over-Exfoliating: If you have sensitive skin, be cautious not to scrub too hard or too often.
- Store Properly: Keep your sugar scrub in a cool, dry place, and avoid introducing moisture into the jar to prolong its shelf life.
Variations of Sugar Scrubs
Once you've mastered the basic recipe, you can get creative with different variations. Here are a few ideas to inspire you:
Citrus Sugar Scrub
Ingredients:
- 1 cup sugar
- 1/2 cup coconut oil
- Zest of 1 lemon or orange
- 10 drops of citrus essential oil (optional)
Benefits: Citrus not only smells invigorating but also has brightening properties for the skin.
Lavender Sugar Scrub
Ingredients:
- 1 cup sugar
- 1/2 cup almond oil
- 10 drops of lavender essential oil
Benefits: Lavender is known for its calming effects, making it perfect for a relaxing spa day at home.
Mint Sugar Scrub
Ingredients:
- 1 cup sugar
- 1/2 cup coconut oil
- 10 drops of peppermint essential oil
Benefits: This refreshing scrub can be particularly invigorating, making it a great choice for use in the morning.
Storing and Preserving Your Sugar Scrub
To ensure your sugar scrub remains fresh and effective, here are a few storage tips:
- Avoid Moisture: Always use a clean, dry spoon to scoop out the scrub to prevent moisture from getting in.
- Seal Tightly: Keep the container tightly sealed when not in use to maintain its integrity.
- Shelf Life: Your homemade sugar scrub can last for several months when stored properly.
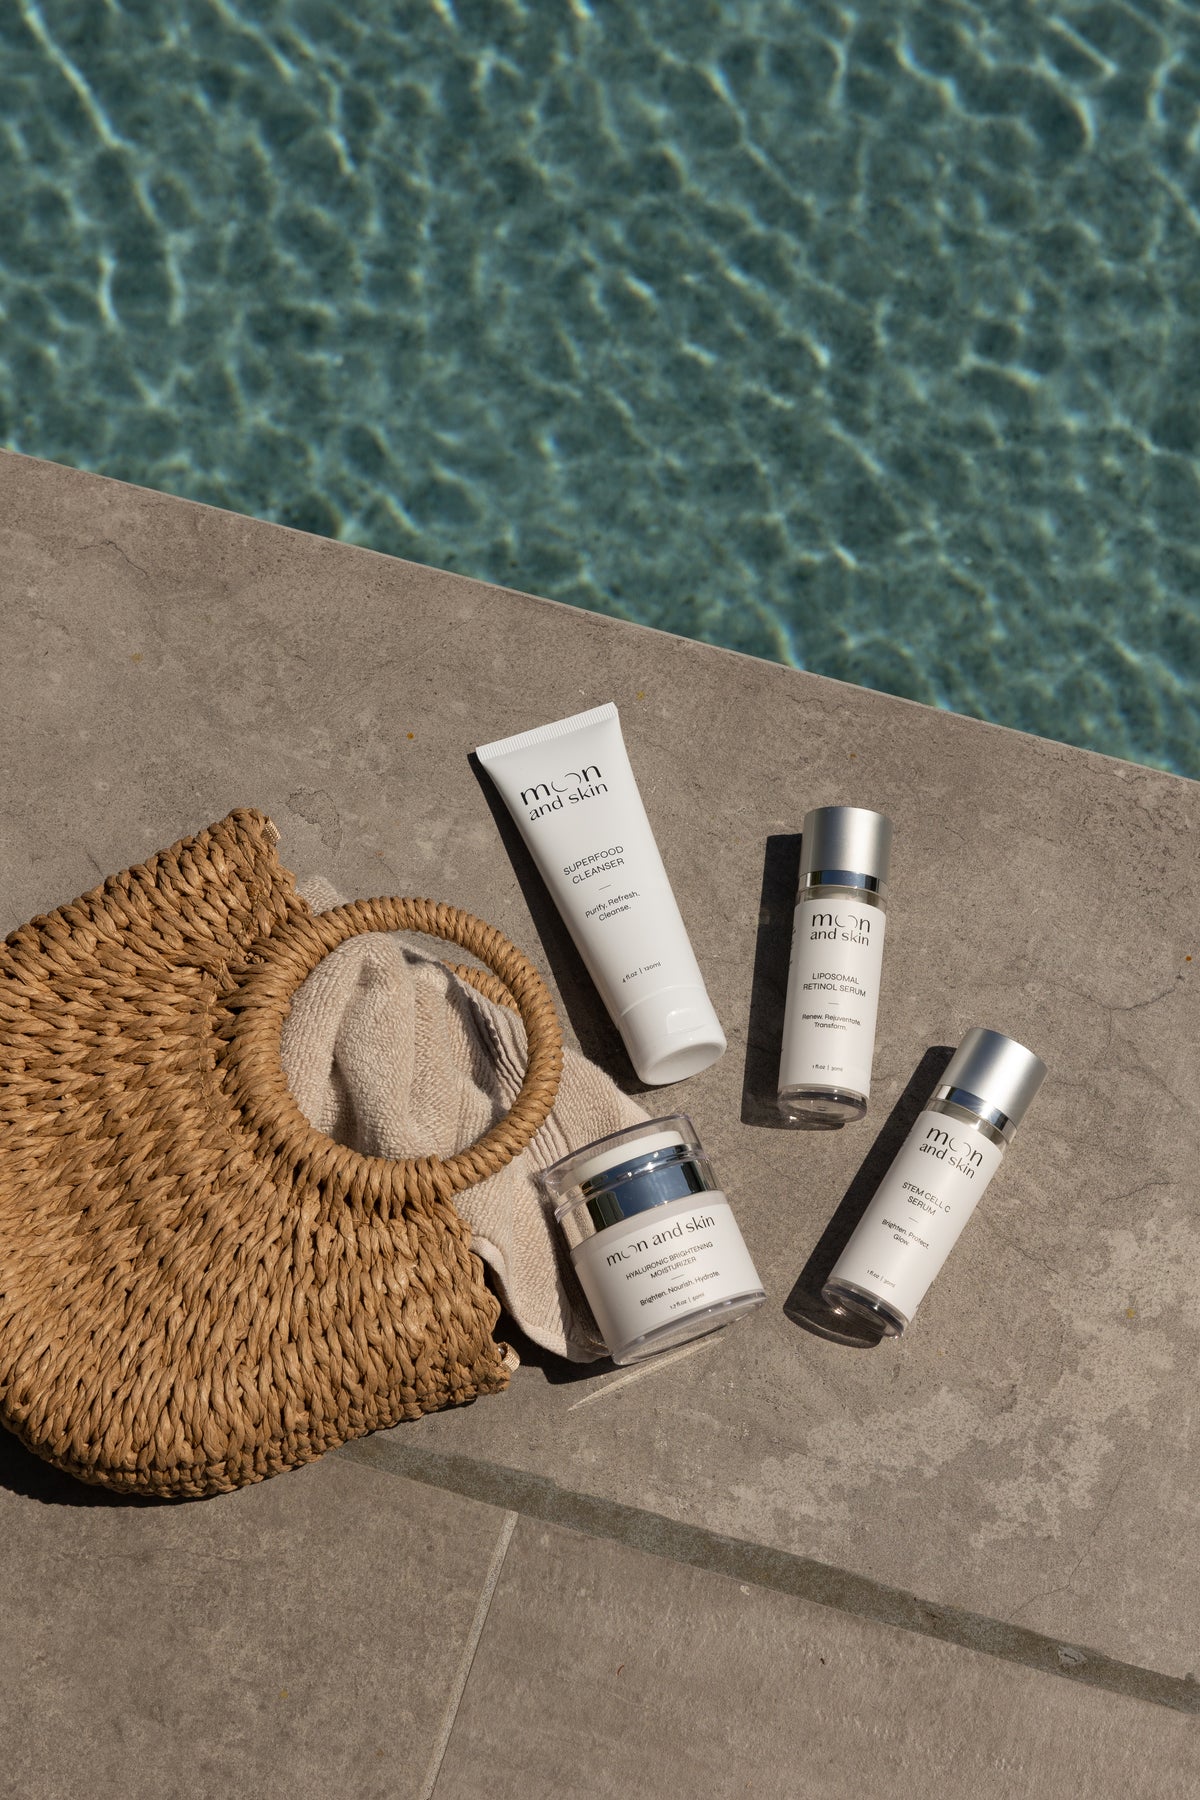
The Moon and Skin Approach to Skin Care
At Moon and Skin, we celebrate the journey of self-care through every phase of life. Our products, like our Superfood Cleanser, work harmoniously to support your skin's unique needs. While sugar scrubs are an excellent addition to your skincare routine, incorporating a full regimen can amplify the benefits. Our Bundle & Save option makes it easy to create a comprehensive routine that nourishes your skin from cleansing to hydration.
Conclusion
Creating a DIY sugar scrub is not just a fun and simple project; it’s an opportunity to indulge in self-care while providing your skin with the nourishment it craves. With just a few ingredients, you can whip up a luxurious treatment that leaves your skin feeling soft, rejuvenated, and beautifully glowing.
We encourage you to try your hand at making your own sugar scrub and explore the various variations to suit your personal preferences. Remember, your skin deserves thoughtful care at every stage of life. For more clean and effective skincare options, check out our Best Sellers collection and experience the transformative benefits of our thoughtfully crafted products.
FAQs
1. Can I use sugar scrubs on my face?
While sugar scrubs are generally safe for the body, we recommend using them on the face with caution. If you choose to do so, be gentle and limit the frequency to avoid irritation.
2. How often should I use a sugar scrub?
For most skin types, using a sugar scrub 1-2 times a week is sufficient. Adjust based on your skin's sensitivity and needs.
3. What if my scrub separates?
Separation is normal, especially if you've used coconut oil. Simply stir it back together before use.
4. Can I add other ingredients to my sugar scrub?
Absolutely! Feel free to experiment with different oils, scents, or even natural additives like honey or coffee grounds for added benefits.
5. How do I store my sugar scrub?
Store your sugar scrub in a cool, dry place in an airtight container. Avoid introducing moisture to prolong its shelf life.