Table of Contents
Introduction
If you’ve ever hesitated to use oil on your face, you’re not alone. Many of us have grown up believing that oil is the enemy of clear skin. However, recent trends in skincare have shown that using oil can be a transformative experience for our skin. In fact, many beauty enthusiasts are turning to the oil cleansing method, which promises not just to remove impurities but to do so in a way that nourishes and balances the skin.
Why is this topic more relevant now than ever? With the constant exposure to environmental pollutants, makeup, and stressors, our skin requires gentle yet effective cleansing methods that respect its natural barrier. The oil cleansing method not only cleanses effectively but also hydrates, making it a wonderful addition to a thoughtful skincare routine.
In this blog post, we’ll explore the science behind oil cleansing, how to choose the right oils for your skin type, and provide you with a step-by-step guide on how to clean your face with oil. By the end, you’ll be empowered to embrace this method and elevate your skincare game to new heights.
The Science of Oil Cleansing
Understanding Why Oil Cleanses Effectively
At the core of the oil cleansing method lies a simple yet powerful principle: "like dissolves like." This means that the oils in your cleansing product can effectively dissolve the oils and impurities on your skin. Traditional cleansers often rely on surfactants that can strip the skin of its natural oils, leading to dryness and irritation. In contrast, oil cleansing respects the skin's natural lipid layer while ensuring a thorough cleanse.
Research shows that using oil-based cleansers can help maintain skin hydration and barrier function. For instance, studies suggest that oils like virgin olive oil can support skin tissue regeneration and wound healing. This makes oil cleansing particularly beneficial for those with dry or sensitive skin, as it helps to soothe, nourish, and hydrate.
Breaking Down Oil Cleansing Benefits
- Removes Makeup and Impurities: Oil can effectively dissolve makeup, sunscreen, and environmental pollutants, leaving your skin clean without harsh scrubbing.
- Balances Oil Production: Contrary to popular belief, applying oil can signal to your skin that it does not need to produce excess oil, helping to balance oily and acne-prone skin.
- Hydrates the Skin: Many oils are packed with vitamins and antioxidants, providing additional nourishment and hydration.
- Supports Microbiome Health: By protecting the skin’s microbiome, oil cleansing can help maintain a healthy balance of bacteria on the skin, which may reduce acne and other skin concerns.
Choosing the Right Oils for Your Skin Type
Understanding Different Types of Oils
When it comes to oil cleansing, not all oils are created equal. Here’s a breakdown of some of the best oils to consider based on your skin type:
- For Dry Skin: Olive oil, avocado oil, and coconut oil are excellent choices. They nourish and hydrate the skin, helping to combat dryness and flakiness.
- For Oily or Acne-Prone Skin: Jojoba oil is a standout option due to its similarity to natural skin sebum. It helps balance oil production without clogging pores. Other good choices include grapeseed oil and marula oil.
- For Sensitive Skin: Rosehip oil and sweet almond oil are gentle and soothing, making them ideal for sensitive skin types.
Key Ingredients to Look For
- Non-Comedogenic Oils: These are oils that won’t clog your pores, making them suitable for oily and acne-prone skin.
- Cold-Pressed and Unrefined Oils: These types of oils maintain their beneficial properties and ensure the highest quality.
- Additives: Some oils, like castor oil, have natural antibacterial properties but can be too harsh for sensitive skin. Choose wisely based on your specific skin needs.
How to Clean Your Face with Oil: A Step-by-Step Guide
Step 1: Gather Your Supplies
You’ll need:
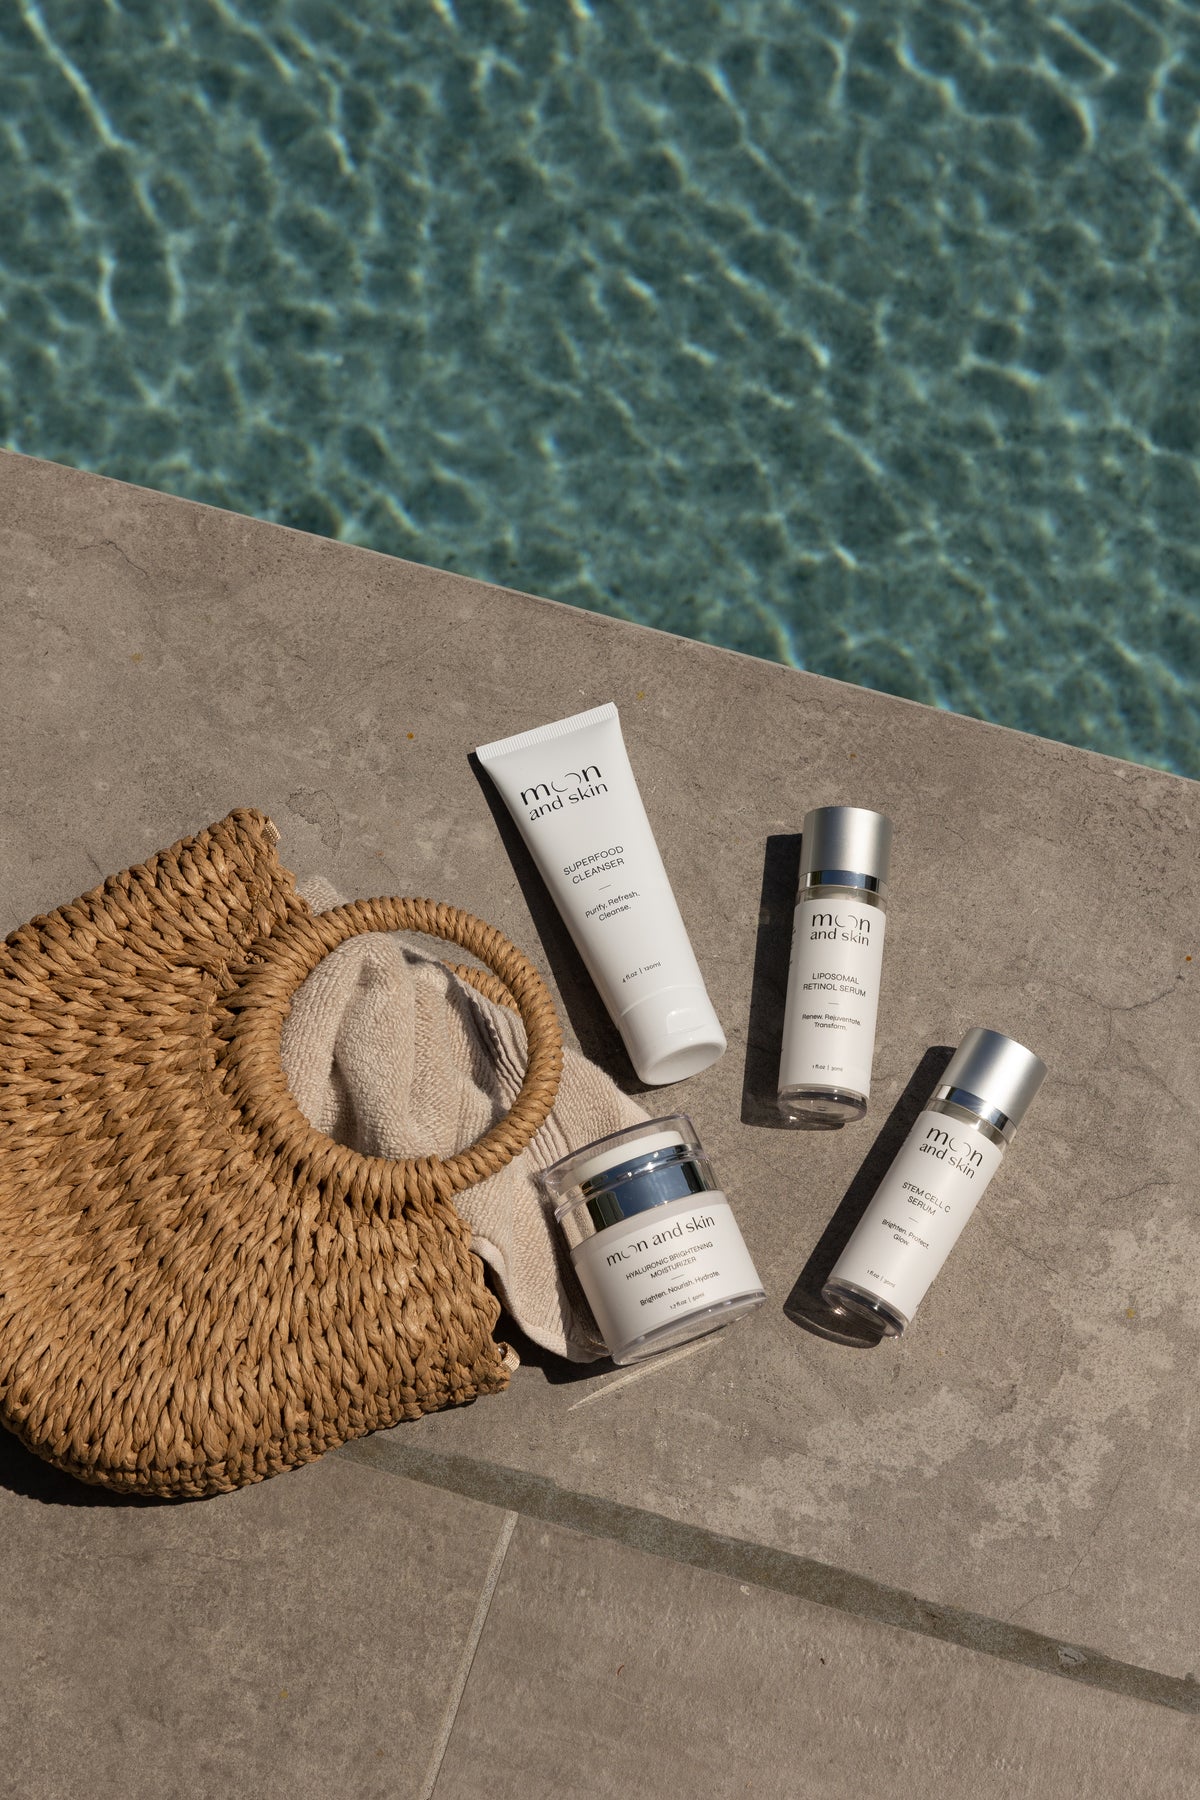
- A cleansing oil suited to your skin type (we recommend trying our Stem Cell C Serum for its brightening and hydrating properties).
- A soft washcloth or cotton pads.
- Warm water.
Step 2: Apply the Oil
- Start with a Dry Face: Apply 1 to 2 teaspoons of your chosen oil directly onto your dry skin. Avoid wetting your face first.
- Massage Gently: Using your fingertips, gently massage the oil into your skin for 1 to 2 minutes. Focus on areas where makeup or impurities tend to accumulate, such as the forehead, nose, and chin.
Step 3: Remove the Oil
- Prepare Your Washcloth: Soak a soft washcloth in warm water and wring it out, ensuring it's damp but not dripping.
- Steam Your Face: Place the warm washcloth over your face for about 30 seconds. This helps to open your pores and enhance the cleansing effect.
- Wipe Away the Oil: Gently wipe away the oil using the washcloth. You may need to rinse the cloth and repeat this step until all oil is removed.
Step 4: Follow Up With a Water-Based Cleanser (Optional)
For those who prefer a double-cleanse method, follow your oil cleanse with a gentle water-based cleanser. This helps remove any residual oil and ensures a thorough cleanse.
Step 5: Pat Dry and Moisturize
After cleansing, pat your skin dry with a clean towel. Depending on your skin type, you may choose to apply a moisturizer. We recommend our Hyaluronic Brightening Moisturizer for its hydrating and brightening properties.
How Often Should You Oil Cleanse?
While oil cleansing is gentle enough to use daily, we recommend starting with 2 to 3 times a week, especially if you're new to the method. As your skin adjusts, you can increase the frequency. Many find that evening cleansing works best to remove the day's buildup.
What to Expect After Oil Cleansing
Initially, you may experience a purging phase where your skin adjusts to the new routine. This might include minor breakouts or dryness as your skin recalibrates. However, these symptoms typically resolve within a couple of weeks. If you notice persistent irritation or breakouts, consider adjusting the type of oil used or consulting a skincare professional.
Oil Cleansing in the Context of a Full Skincare Routine
While oil cleansing can stand alone as a cleansing method, it’s most effective when integrated into a well-rounded skincare routine. A basic routine may include:
- Cleansing: Start with your oil cleanse (as outlined above).
- Toning: Follow with a hydrating toner to balance your skin’s pH.
- Serum: Apply a serum to target specific skin concerns. Our Liposomal Retinol Serum can help improve skin texture and reduce signs of aging.
- Moisturizing: Seal in hydration with a moisturizer, like our Hyaluronic Brightening Moisturizer.
- Sun Protection: In the morning, don’t forget to apply sunscreen to protect your skin from UV damage.
Conclusion
The oil cleansing method offers a unique and effective way to cleanse your skin without stripping it of its natural oils. By following the steps outlined in this post, you can embrace this nourishing technique and enhance your skincare routine.
We invite you to explore our Bundle & Save collection, which includes our core products designed to work together for optimal skin health. Together, we can celebrate the beauty of healthy, hydrated skin through every phase of life.
FAQ
Q: Can oil cleansing cause breakouts?
A: It may cause minor breakouts initially as your skin adjusts, but this typically resolves within a couple of weeks. If breakouts persist, consider changing the type of oil used.
Q: How do I choose the right oil for my skin?
A: Assess your skin type and concerns. For oily skin, consider jojoba or grapeseed oil. For dry skin, olive or avocado oil may be more suitable.
Q: Is oil cleansing suitable for sensitive skin?
A: Yes, gentle oils like rosehip or sweet almond oil can be beneficial. Always perform a patch test before using new products.
Q: Should I oil cleanse in the morning or evening?
A: Evening is typically best, as it helps remove dirt and makeup accumulated throughout the day. However, some people enjoy a morning oil cleanse as part of their routine.
Q: What should I do after oil cleansing?
A: Follow with a toner, serum, and moisturizer to ensure your skin remains nourished and hydrated.