Table of Contents
Introduction
Have you ever wondered how to harness the power of nature in your skincare routine? Carrots are not just a staple in our diet; they hold remarkable benefits for our skin, making them an excellent ingredient for homemade soap. With their vibrant color and nourishing properties, carrots can transform your soap-making experience. In this post, we’re excited to share our insights on how to make carrot soap, emphasizing the clean, thoughtful formulation that aligns with our mission at Moon and Skin.
As we explore the process of making carrot soap, we’ll delve into the benefits of carrots for the skin, the science behind soap-making, and, of course, provide you with a step-by-step guide to create your own carrot soap at home. We understand that navigating the world of natural skincare can be confusing, so our goal is to empower you with knowledge and practical tips. Together, we'll celebrate the beauty of clean, natural ingredients that promote healthy skin, just as we do with our products.
The Benefits of Carrots for Skin
Carrots are rich in vitamins and antioxidants, making them a powerful ally for skin health. Here are some of the key benefits of using carrots in your soap:
1. Rich in Beta-Carotene
Carrots are renowned for their high beta-carotene content, which the body converts into vitamin A. This vitamin is essential for maintaining healthy skin, as it promotes cell turnover and can help reduce the appearance of fine lines and wrinkles.
2. Antioxidant Properties
The antioxidants found in carrots help combat free radicals, which can cause premature aging. By incorporating carrot puree into your soap, you can provide your skin with a protective layer against environmental stressors.
3. Hydration and Nourishment
Carrot soap can help hydrate the skin, leaving it soft and supple. The natural oils present in carrots can nourish the skin, making it an excellent choice for those with dry or sensitive skin.
4. Natural Colorant
Adding carrot puree to your soap not only benefits your skin but also provides a beautiful, natural color. Unlike synthetic dyes, carrot puree gives your soap a warm, sunny hue, enhancing its aesthetic appeal.
5. Gentle Exfoliation
The natural sugars in carrots can offer mild exfoliating properties, helping to remove dead skin cells and promote a brighter complexion. This gentle exfoliation can be particularly beneficial for maintaining an even skin tone.
Understanding the Soap-Making Process
Before we dive into the specifics of making carrot soap, it's essential to understand the basic principles of soap-making. The process typically involves three main components: oils, lye, and water.
The Role of Lye
Lye, or sodium hydroxide, is a caustic substance necessary for the saponification process, where oils are transformed into soap. When properly handled and combined with oils, lye is neutralized, making the final product safe for use on the skin. It’s crucial to follow safety guidelines when working with lye, as it can cause burns if mishandled.
The Saponification Process
The saponification process is fundamentally a chemical reaction between acids (oils) and bases (lye). Here’s a simplified overview:
- Mixing Lye and Water: When lye is mixed with water, it generates heat. This solution must be allowed to cool before combining it with oils.
- Combining Oils: The oils you choose for your soap will determine its properties, such as moisture content, lather, and hardness.
- Blending: Once the lye solution and oils are at a similar temperature (around 100°F or 38°C), they can be combined. At this stage, you can add carrot puree to enhance the soap's color and benefits.
- Pouring into Molds: The blended mixture is poured into molds, where it will solidify over the next 24 to 48 hours.
- Curing: After unmolding, the soap must cure for several weeks to allow excess moisture to evaporate and the soap to fully harden.
Step-by-Step Guide: How to Make Carrot Soap
Now that we've covered the benefits of carrots and the soap-making process, let’s get into the nitty-gritty of creating your carrot soap. We’ll provide a straightforward recipe that even beginners can follow, ensuring that your homemade soap is as effective and beautiful as possible.
Ingredients Needed
To make your carrot soap, you will need the following ingredients:
- Lye (Sodium Hydroxide): 64 g (2.27 oz)
- Distilled Water: 100 g (3.5 oz)
- Carrot Puree: 50 g (3 tablespoons)
- Coconut Oil (Refined): 140 g (4.94 oz)
- Shea Butter (Refined): 59 g (2.08 oz)
- Olive Oil: 225 g (7.94 oz)
- Castor Oil: 30 g (1.06 oz)
- Essential Oil (Optional): 9 g (May Chang or Litsea Cubeba)
Equipment Required
- Digital kitchen scale
- Digital thermometer
- Immersion blender
- Medium stainless steel pot (2.5 quart)
- Heat-proof jug
- Measuring spoons
- Silicone spatula
- Small fine-mesh sieve (strainer)
- Square silicone mold (1 lb)
Instructions
Step 1: Prepare the Carrot Puree
- Cook the Carrots: Peel and chop a medium-sized carrot, then simmer it in hot water until soft.
- Blend: Using an immersion blender, puree the cooked carrots until smooth. If you have any leftover cooking water, you can save it for the lye solution, ensuring it has cooled to room temperature.
Step 2: Safety First
- Wear long sleeves, pants, and closed-toe shoes, and always use eye protection and rubber gloves when handling lye.
Step 3: Make the Lye Solution
- In a well-ventilated area, carefully pour the lye crystals into the distilled water (never the other way around) and stir until fully dissolved.
- Allow the lye solution to cool in a safe place.
Step 4: Melt the Oils
- In a stainless steel pot, melt the coconut oil and shea butter on low heat. Once melted, remove from heat and stir in the olive and castor oils.
Step 5: Measure Temperatures
- Use a thermometer to check that both the lye solution and the oils are around 100°F (38°C).
Step 6: Combine Lye and Oils
- Put on your gloves and goggles, then slowly pour the lye solution into the oils.
- Use the immersion blender to blend until you reach a light trace. This is when the mixture thickens and leaves a light trail on the surface.
Step 7: Add Carrot Puree
- Gently mix the carrot puree into the soap batter, ensuring it is well incorporated.
Step 8: Pour into Molds
- Pour the soap mixture into your silicone mold, tapping gently to remove any air bubbles.
- Cover the mold with a towel to insulate it during the saponification process.
Step 9: Unmold and Cure
- Allow the soap to set for 24 to 48 hours before unmolding.
- Once removed from the mold, let the soap cure in a cool, dry place for 4 to 6 weeks.
Key Takeaways
- Carrots add vibrant color and beneficial properties to your soap.
- Understanding the soap-making process is crucial for creating a successful batch.
- Following safety precautions when working with lye is essential.
Enhancing Your Carrot Soap with Moon and Skin Products
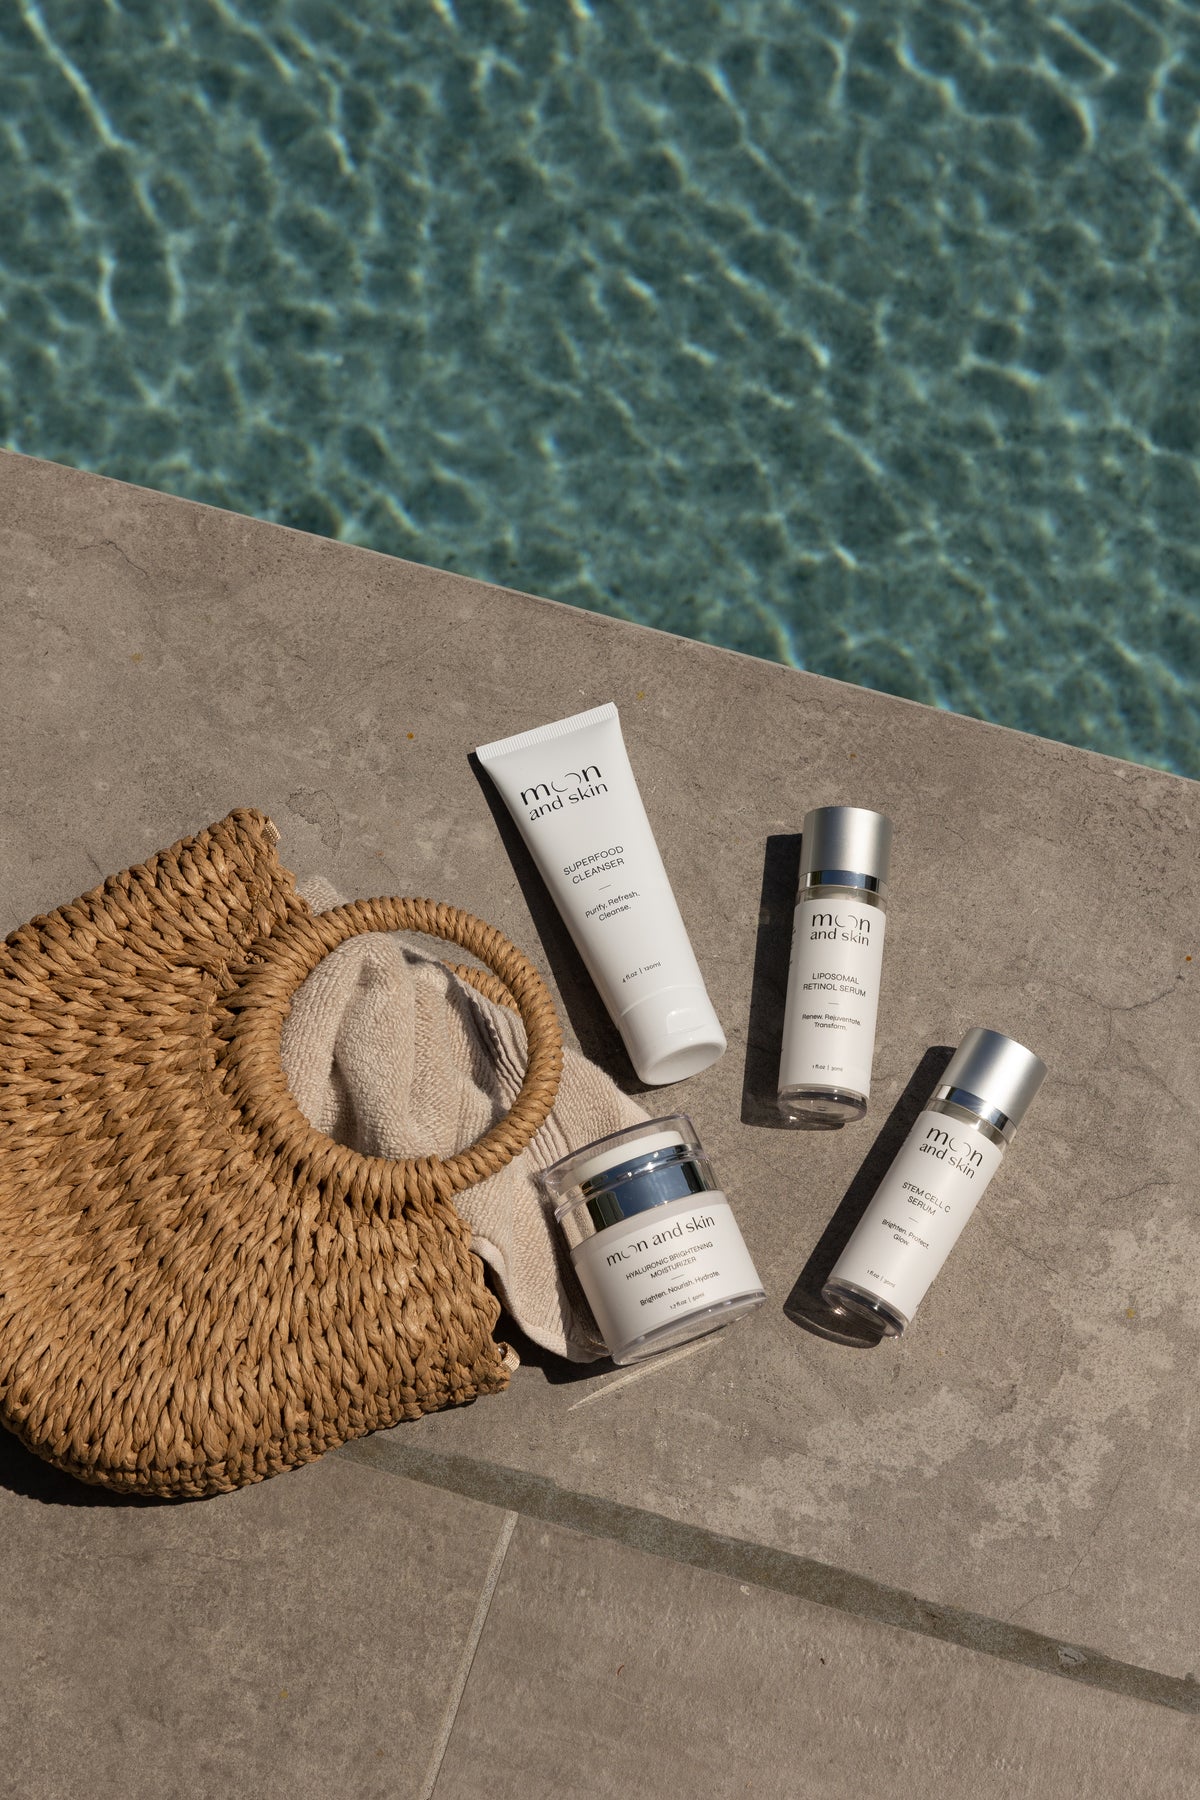
While making your homemade carrot soap is a rewarding experience, we also encourage you to explore our range of thoughtfully formulated products that complement your skincare routine. Our Hyaluronic Brightening Moisturizer can provide additional hydration and nourishment after your soap cleanse, while our Superfood Cleanser ensures that your skin starts fresh every day.
We believe that clean, thoughtful skincare should be accessible to everyone, and our products are designed to support your skin through every phase of life.
FAQ
1. How long does carrot soap last?
Carrot soap can last for several months, especially when stored in a cool, dry place. The key is to ensure it has cured properly before use.
2. Can I use fresh carrots instead of puree?
Using fresh carrots is not advisable, as they contain too much water and can alter the balance of your soap. Always use a pureed form for the best results.
3. What other ingredients can I add to carrot soap?
You can experiment with different essential oils for fragrance or other natural additives like oats for exfoliation.
4. Is carrot soap suitable for all skin types?
Yes, carrot soap is generally suitable for all skin types, but it's always best to do a patch test if you have sensitive skin.
5. How often can I use carrot soap?
You can use carrot soap daily, just as you would with any other natural soap. It’s gentle enough for regular use.
Conclusion
Making carrot soap is not just a fun DIY project; it’s an opportunity to embrace the benefits of natural ingredients that nourish and protect your skin. By incorporating carrot puree, you’re not only enhancing your soap’s aesthetic appeal but also its effectiveness in promoting healthy skin.
We invite you to take this knowledge and apply it to your skincare routine. And remember, to build an effective skincare regimen, consider exploring our Bundle & Save collection, where you can enjoy our core products at a better value. Together, let’s celebrate the beauty of clean, thoughtful skincare that respects both your skin and the environment.


